Technical meshes (CAD)
A CAD part is flat faces, cylinders and fillets meeting at sharp edges. QuadGuide follows the sharp edges on its own. The Surfaces (CAD) panel lets it also follow the borders that are not sharp, a fillet running onto a flat, so each face of the part gets its own grid of quads.
| The part (a bag cap, 40 000 triangles from CAD) | Hard Surface, 5000 quads |
|---|---|
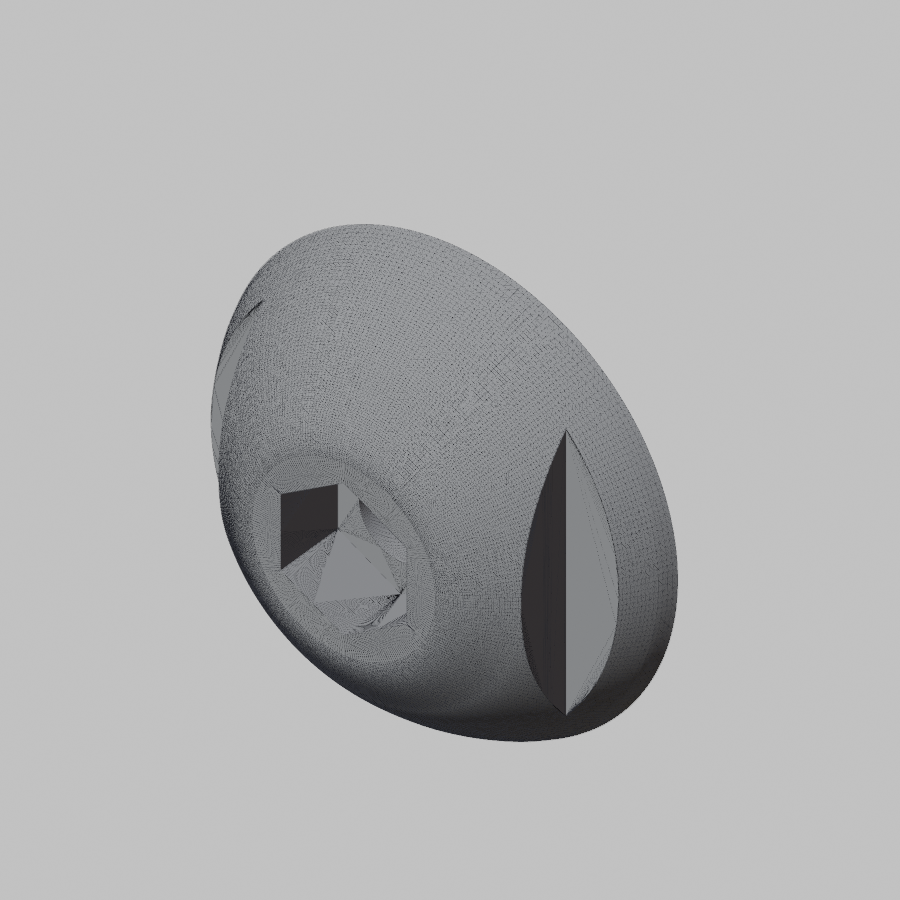 |
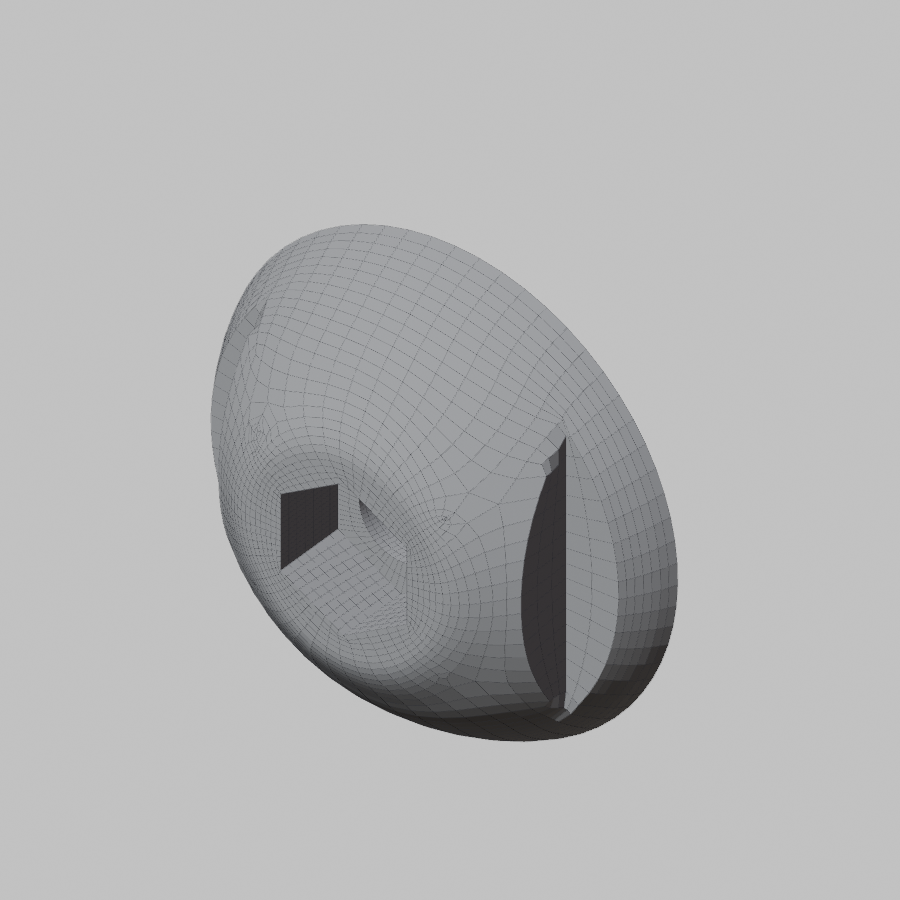 |
One click: Hard Surface
Pick the Hard Surface style, set about how many Quads you want, press Remesh. Edges sharper than 40 degrees are detected and come out as edge loops; the flow stays even across the part, with no density changes. Poles sit where the shape asks for them, at the corners of pockets and flats; a part with acute slots or a hexagonal pocket gets a few more round those. The result is checked like any other: no holes, nothing inside out, and the result card selects a spot that is not right.
The count lands within a few percent on a plain part. A part with many small features (bores, slots, a pocket) can land up to a tenth above the ask, because every rim needs whole rows of quads.
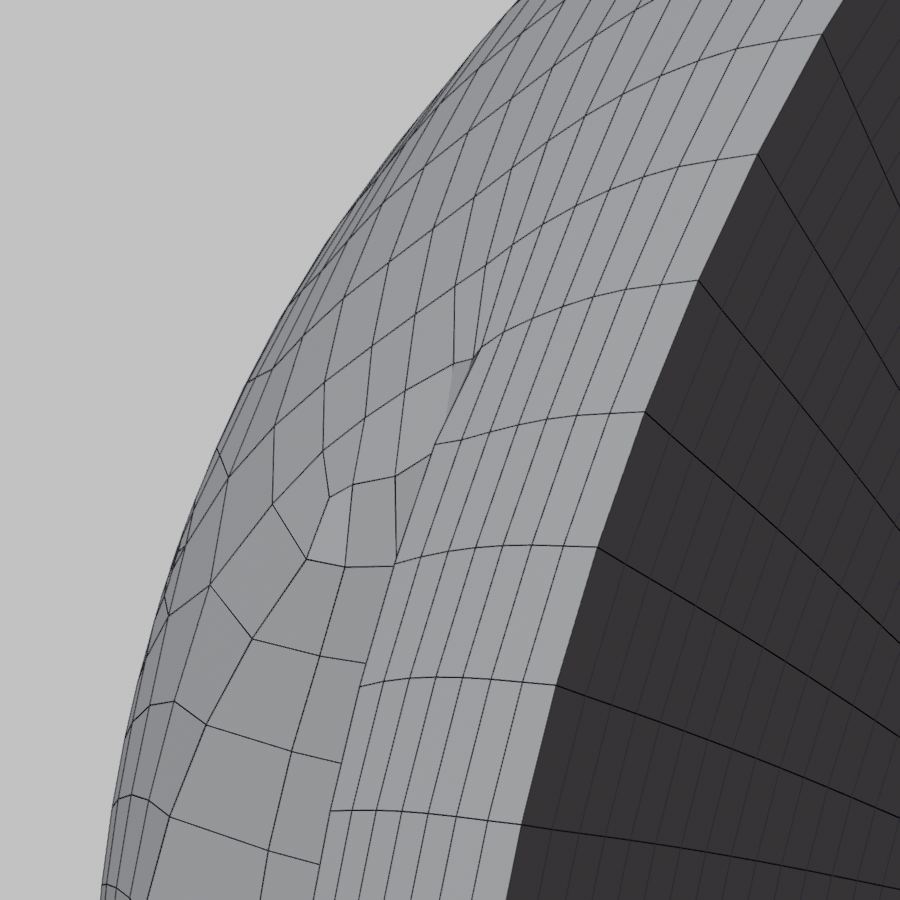
Where two sharp edges meet at an acute tip, the rows turn in a kink at the tip rather than fanning out. That is the shape of the tip, not a defect.
Want fewer poles still? Tick Thorough under Style: one more rounding of the grid is tried and the result with fewer poles kept. On the cap that is 30 poles down to 26, in 21 s instead of 14. See Thorough.
The test parts
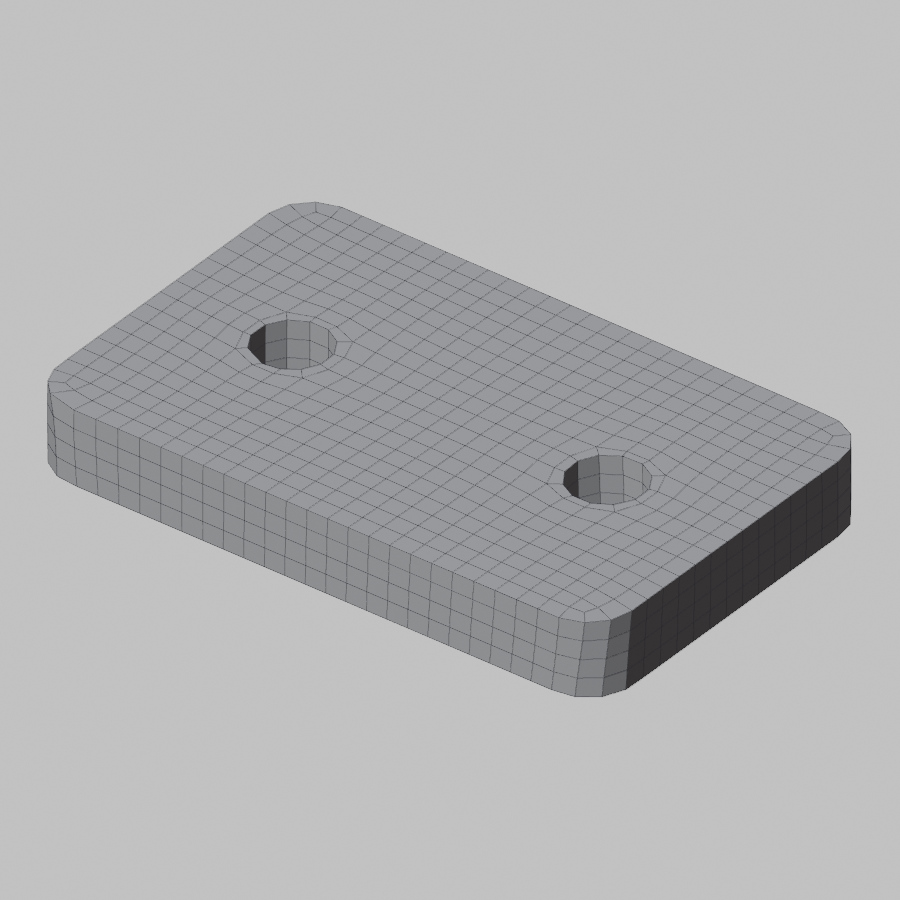
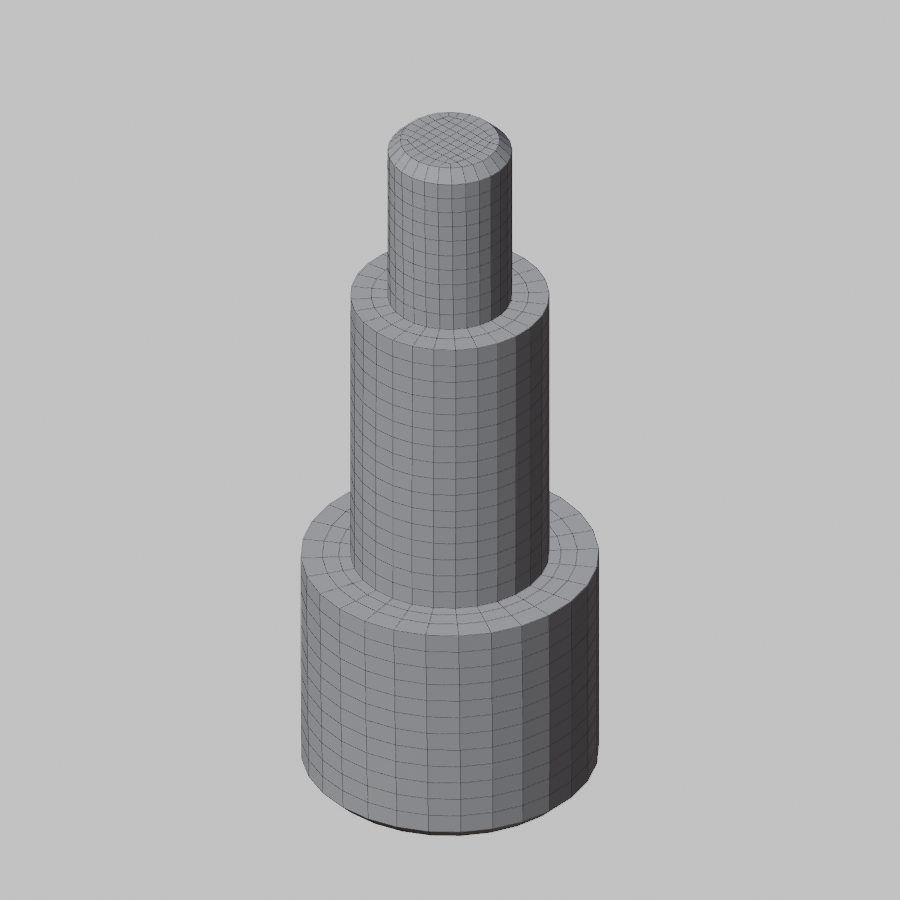
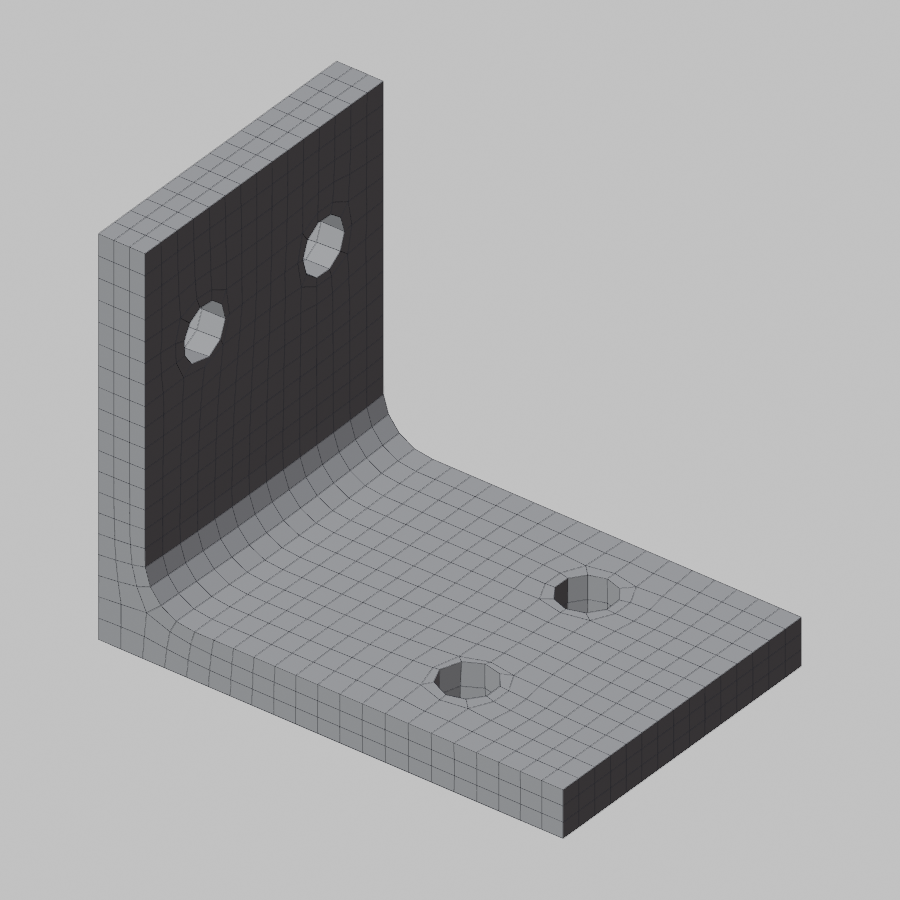
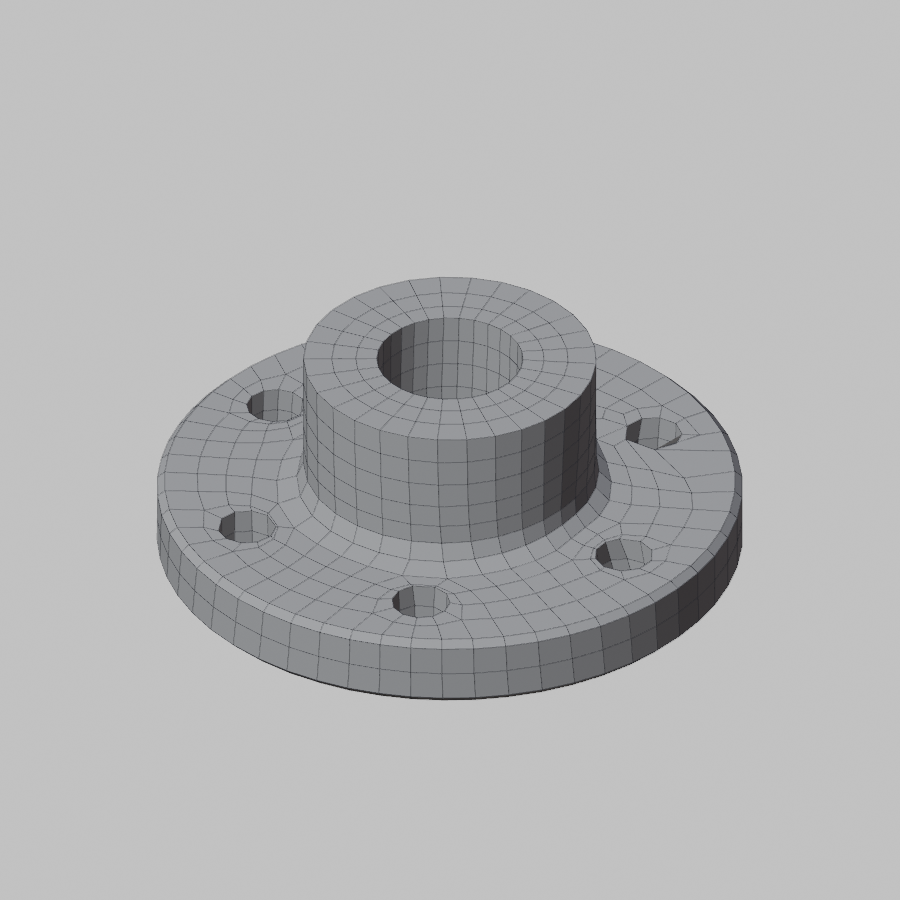
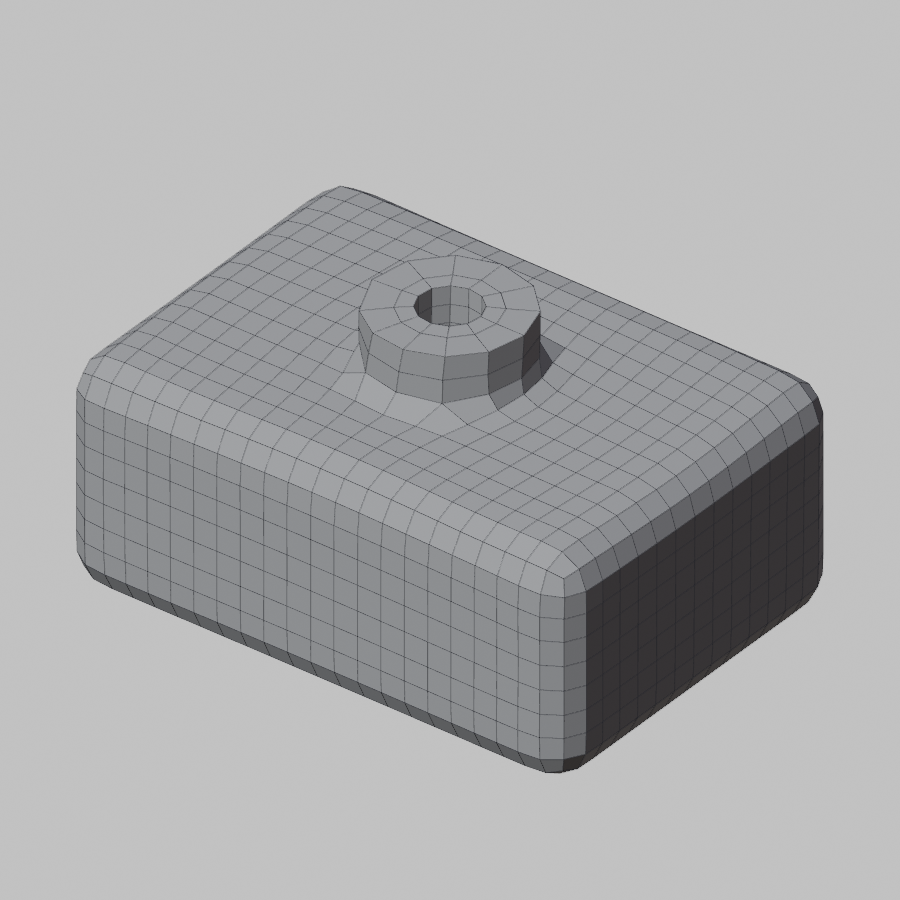
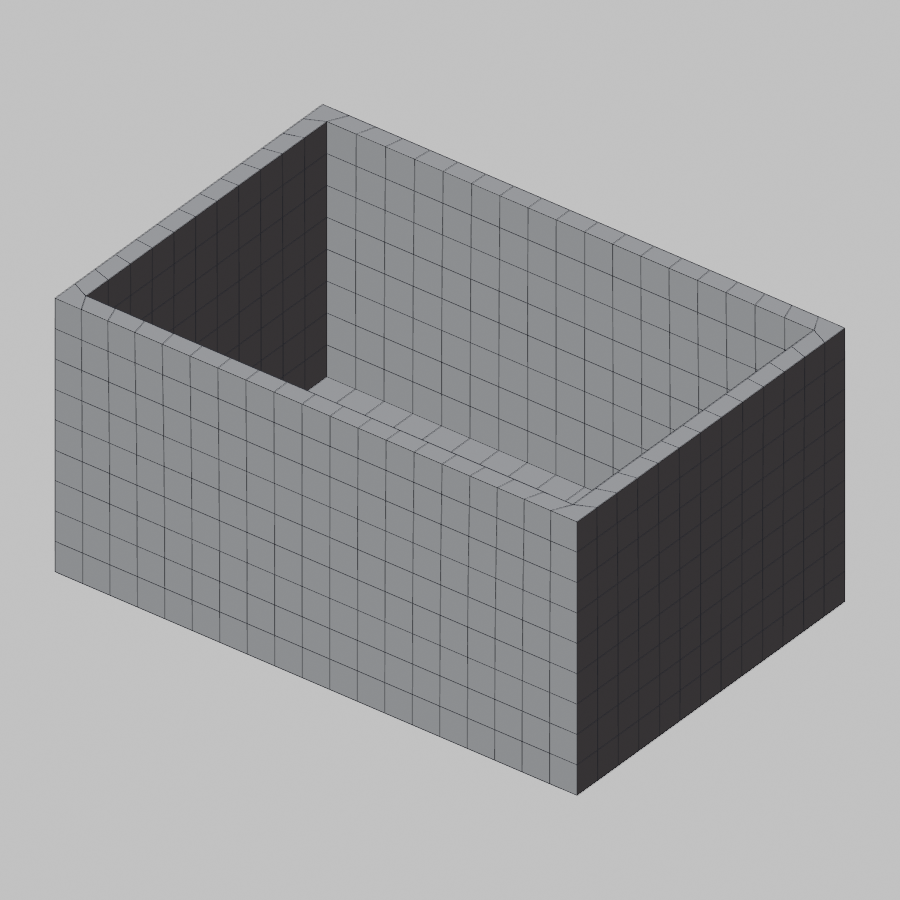
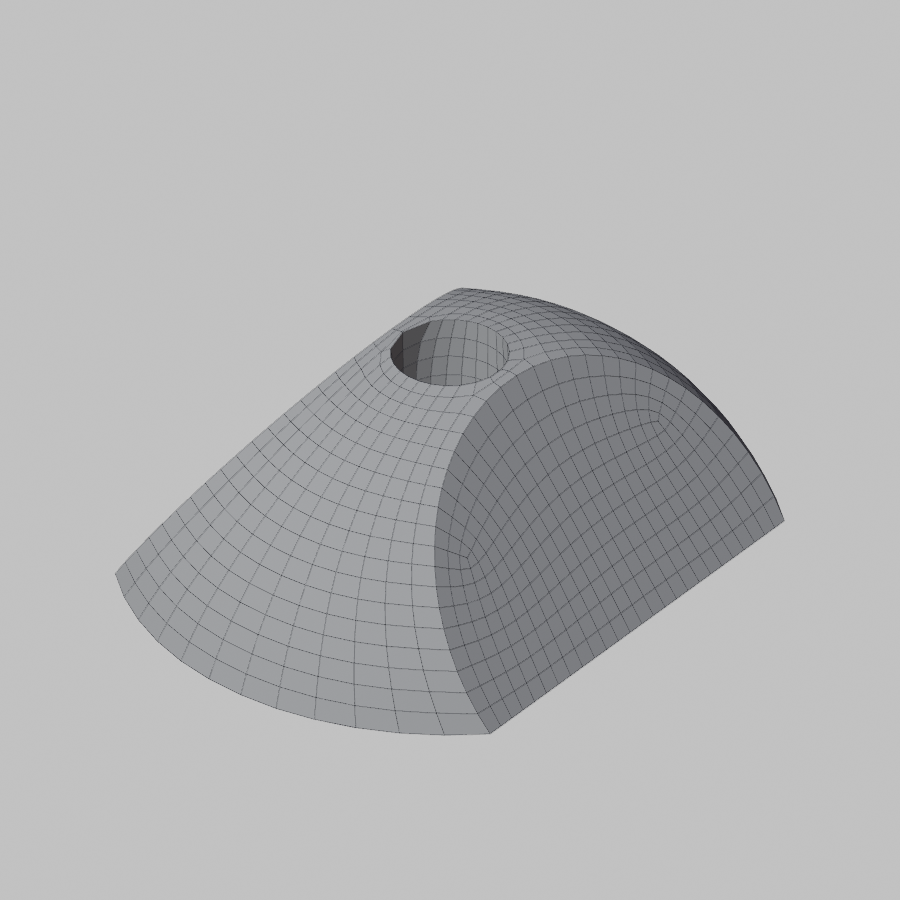
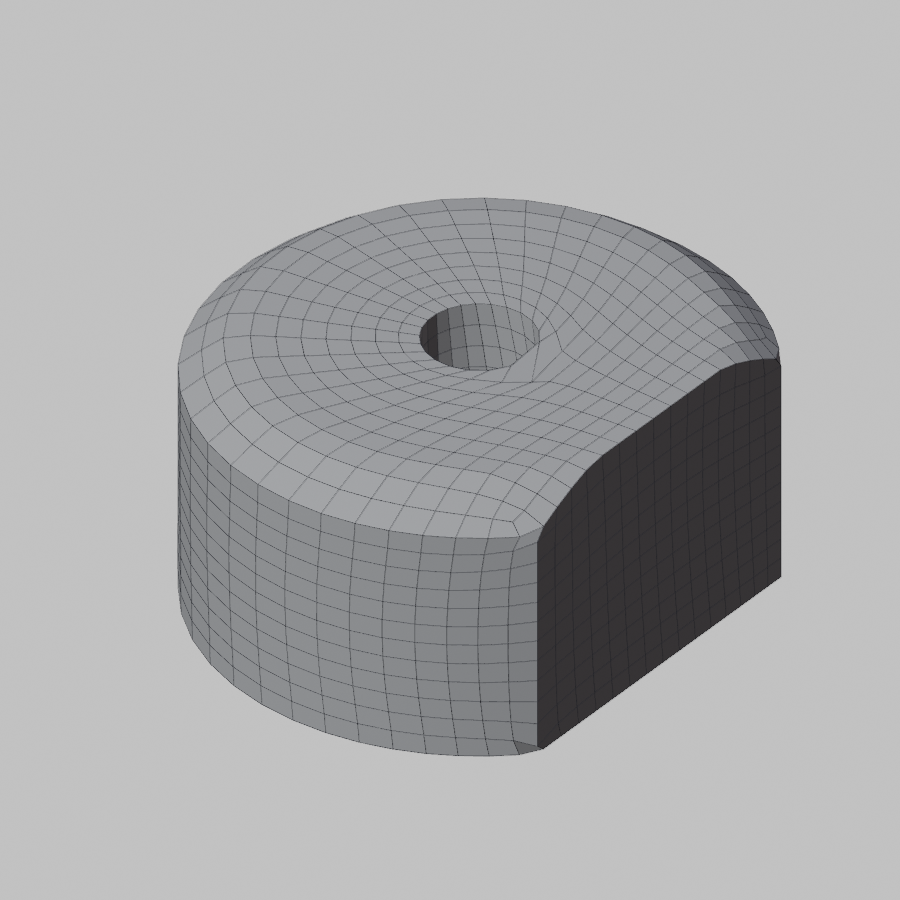
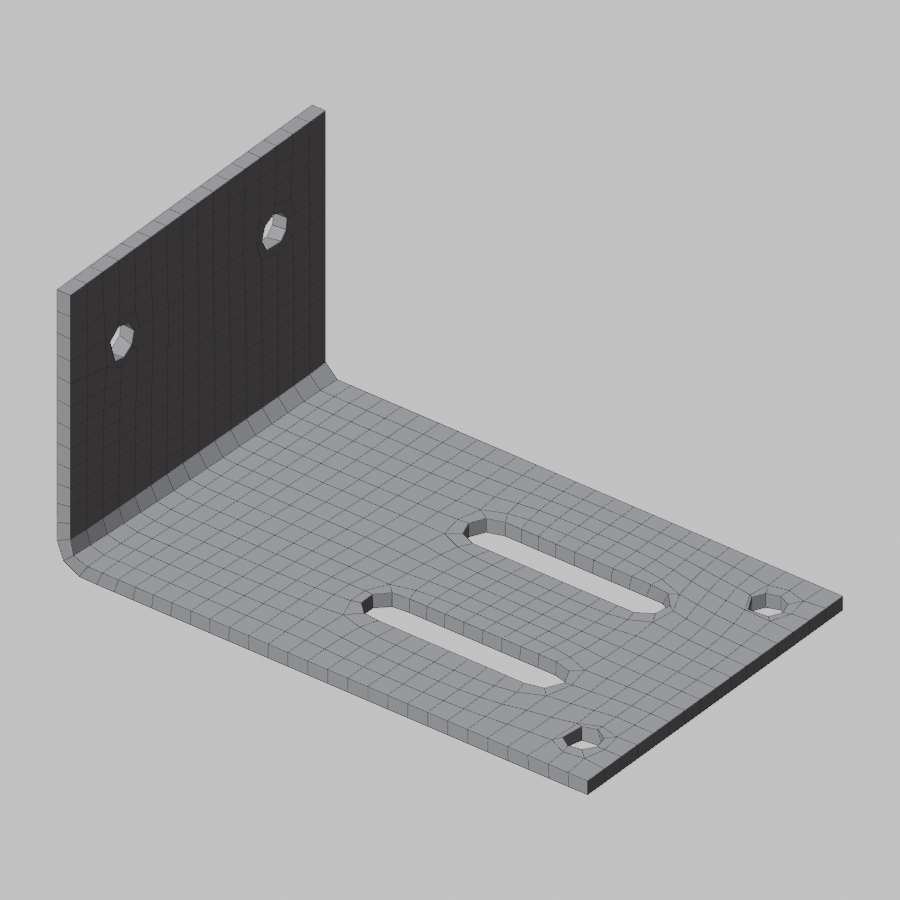
The parts the engine is tested on, each remeshed with Hard Surface at 1500 quads. All nine come out closed, with every hole and slot in place. Seven validate as they are; the flange and the sheet come back with a few quads marked for a touch-up at this count (the result card selects them), because their bolt holes and slot ends are about one quad across. The two thin parts (the box and the sheet) have 2 mm walls, under a quad thick at this count, and still come out whole.
| Plate | Shaft | Bracket |
|---|---|---|
 |
 |
 |
| Flange | Housing | Thin box |
|---|---|---|
 |
 |
 |
| Dome | Knob | Sheet with slots |
|---|---|---|
 |
 |
 |
Surfaces (CAD)
For a part whose faces meet smoothly as well as sharply (fillets onto flats, a boss blended into a plate), open Surfaces (CAD) under the main panel. It reads as three steps, with the next one marked.
- Prepare CAD Part does steps 1 and 2 in one click: it finds the surfaces and gives each its own material. The panel then says how many surfaces it found ("11 surfaces, Use Materials on") and warns if any is thinner than a quad.
- Press Remesh. Every border between two surfaces, the smooth ones included, becomes an edge loop of the result.
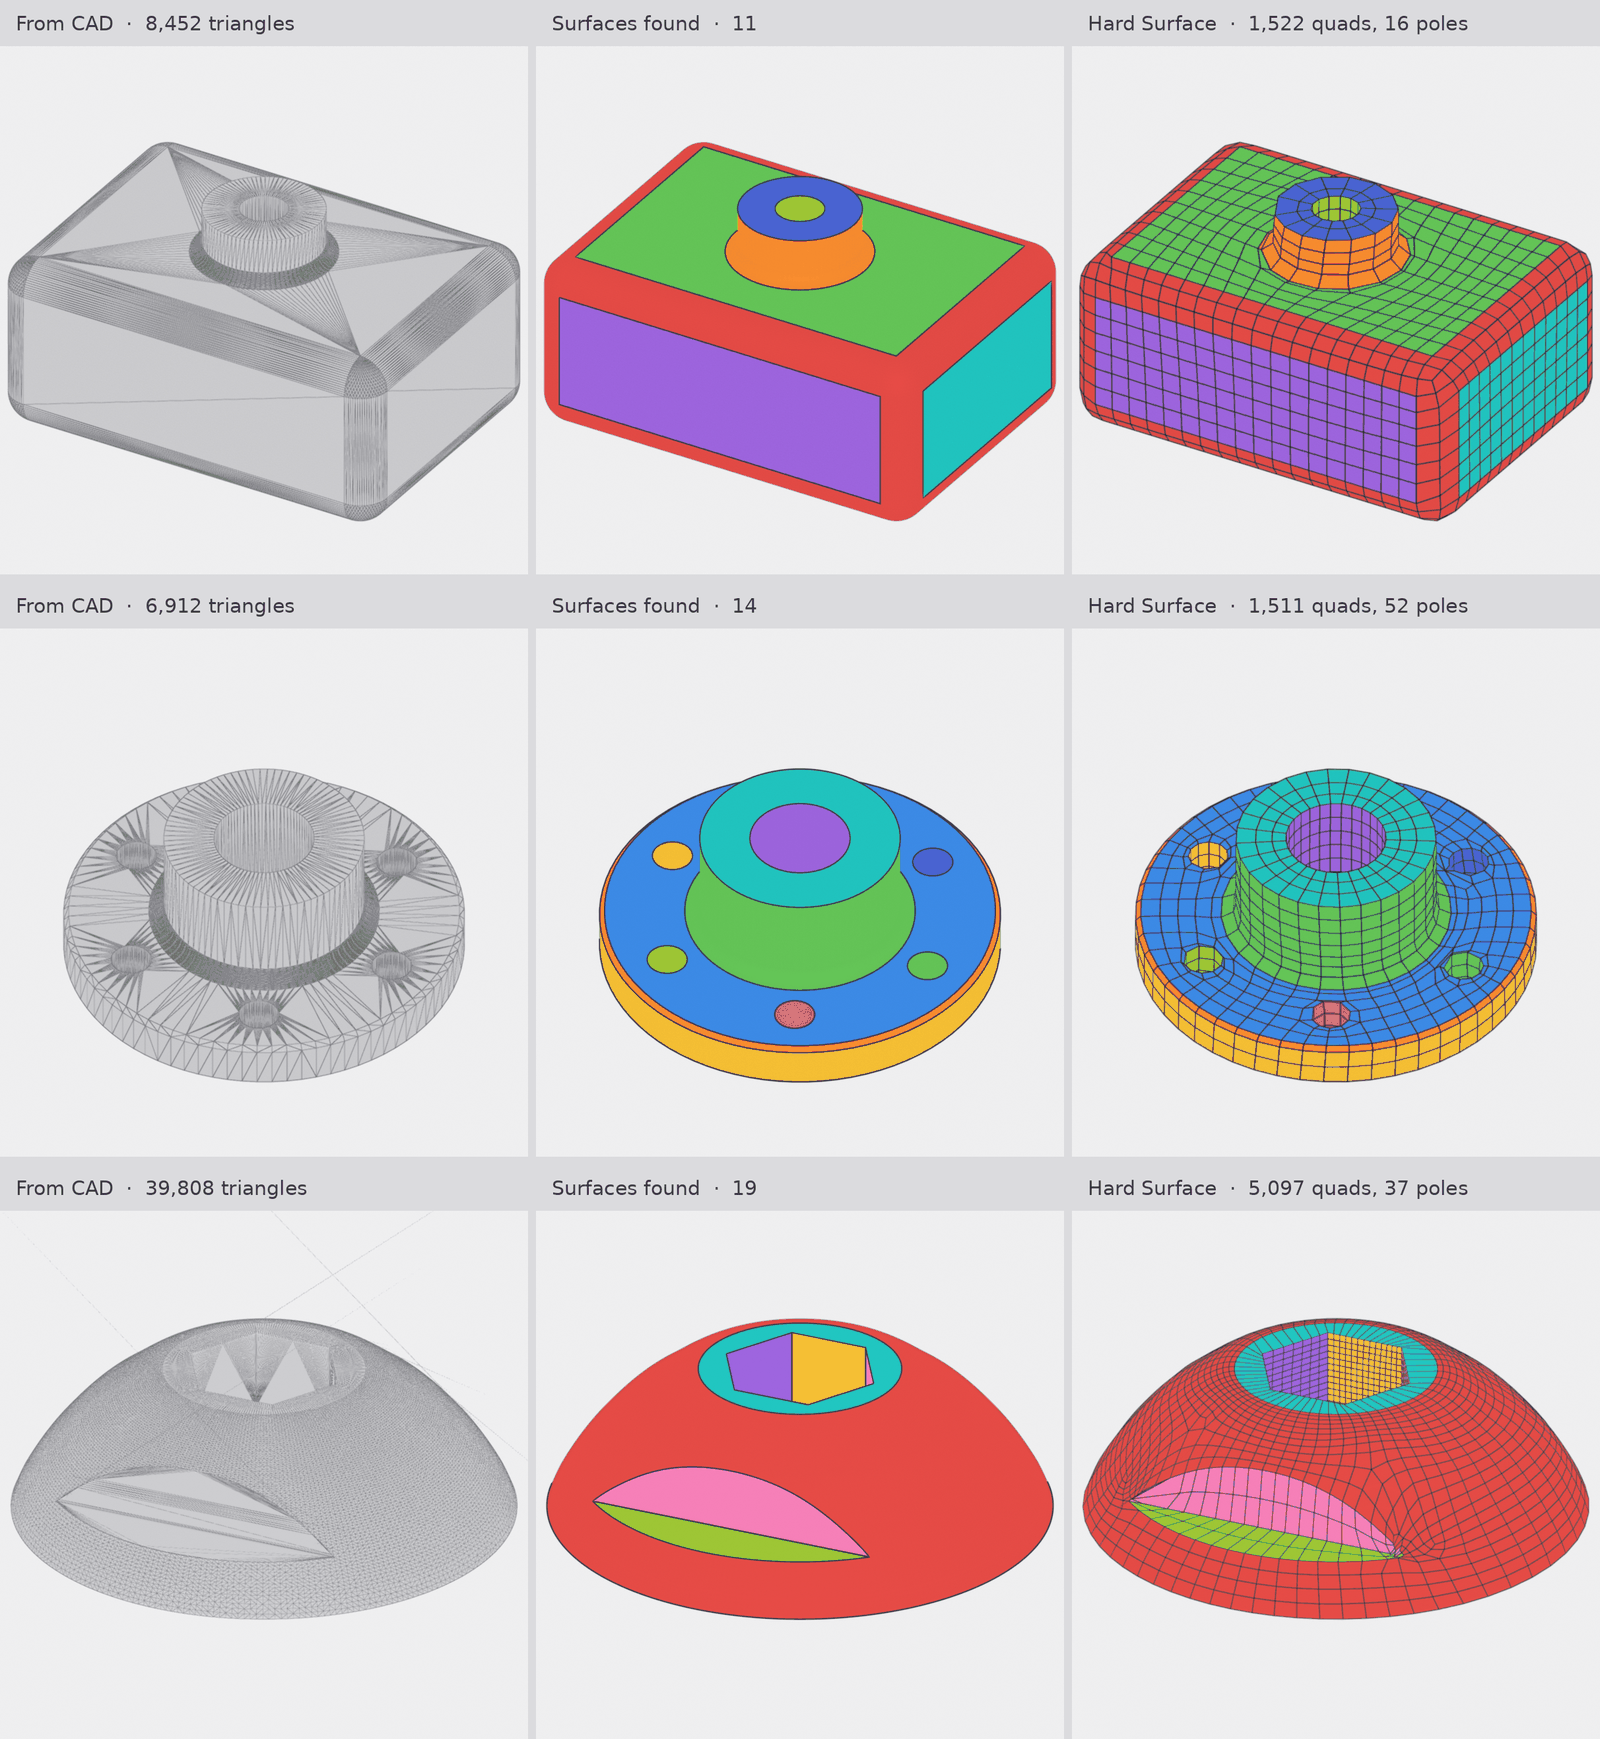
Each row is one part: the triangles as they come from CAD, the surfaces the panel found in one colour each, and the Hard Surface result with the quads coloured by their surface (1500 quads for the housing and the flange, 5000 for the cap). Every border in the middle column, the bolt-hole rims, the hub and the foot of its fillet, the rim of the cap's pocket, is an edge loop on the right.
Angle (35 degrees) is the one setting in view: faces meeting at a sharper angle than this belong to different surfaces. If a face is missing its own colour, raise or lower it and press Prepare Again.
Open Details for the steps one at a time and the rest of the settings:
- Find Surfaces (or Find Again) splits the mesh into its surfaces and colours them, without changing the mesh: the surfaces are stored in a face attribute. Edges marked Sharp or as Seams, and borders between your Materials, separate surfaces too when turned on. Tangent also splits where a flat meets a curved face smoothly (the foot of a fillet), shown as dark lines. Curved goes further and splits where two curved faces meet smoothly (a fillet running onto a cylinder), by their curvature. Turn it on for a part whose fillets are CAD faces: a housing with corner blends goes from 11 surfaces to its 31 faces and remeshes as if it had its CAD materials. Leave it off for a part tessellated from one freeform surface: the cap above would split into 81 surfaces and come out worse.
- Surfaces to Materials (or Update Materials) gives each surface its own material
(
QG Surface 1,2, ...) and turns on Use Materials. If the mesh already has several materials, Keep Material Borders keeps theirs as well. - To Guides is for drawing on top of the surfaces instead: the borders become guides, and Cut Lines joins the border loops of a surface with several (a dome with a hole), so that each surface fills as its own patches. For a CAD part, Surfaces to Materials keeps the borders more closely.
- Clear Surfaces removes the colours and puts your materials back as they were.
Thin walls
Sheet metal and shells thinner than a quad are a limit of any quad remesher: the two sides of the wall compete for the same quads. After Find Surfaces the panel warns, "N surfaces thinner than a quad: borders there may tear". Raise the count until the wall is at least a quad thick, or Clear Surfaces and remesh free, which keeps such parts whole at the cost of the borders. Merge Thin folds chamfers and strips narrower than half a quad into a neighbour for drawing guides; leave it off when the part is sheet metal, as it would merge the walls.
Tips
- Enough quads for the rims. A bore needs about eight quads round its rim to read as round; at a low count it comes out as an octagon. Count the small features before you set Quads, or paint them denser.
- Symmetric parts. Symmetry remeshes one half and mirrors it across the mesh's X axis, so both halves match exactly.
- Edge loops where you want them. Draw a loop round a feature to put an edge loop there.
- The original is never changed. The result is a new object; Clear Surfaces restores the materials, and the input stays hidden in place.