Home


Clean, artist-like quad meshes in Blender, in one click, with guides when you want a say in the flow.
Select a sculpt, a scan or a messy model, press Remesh, and QuadGuide gives you an all-quad mesh whose edge loops follow the form: round the eyes and mouth, along the limbs, along hard edges. Every result is checked before you see it. When you know where the loops must go, draw them on the surface and the remesh follows your lines.
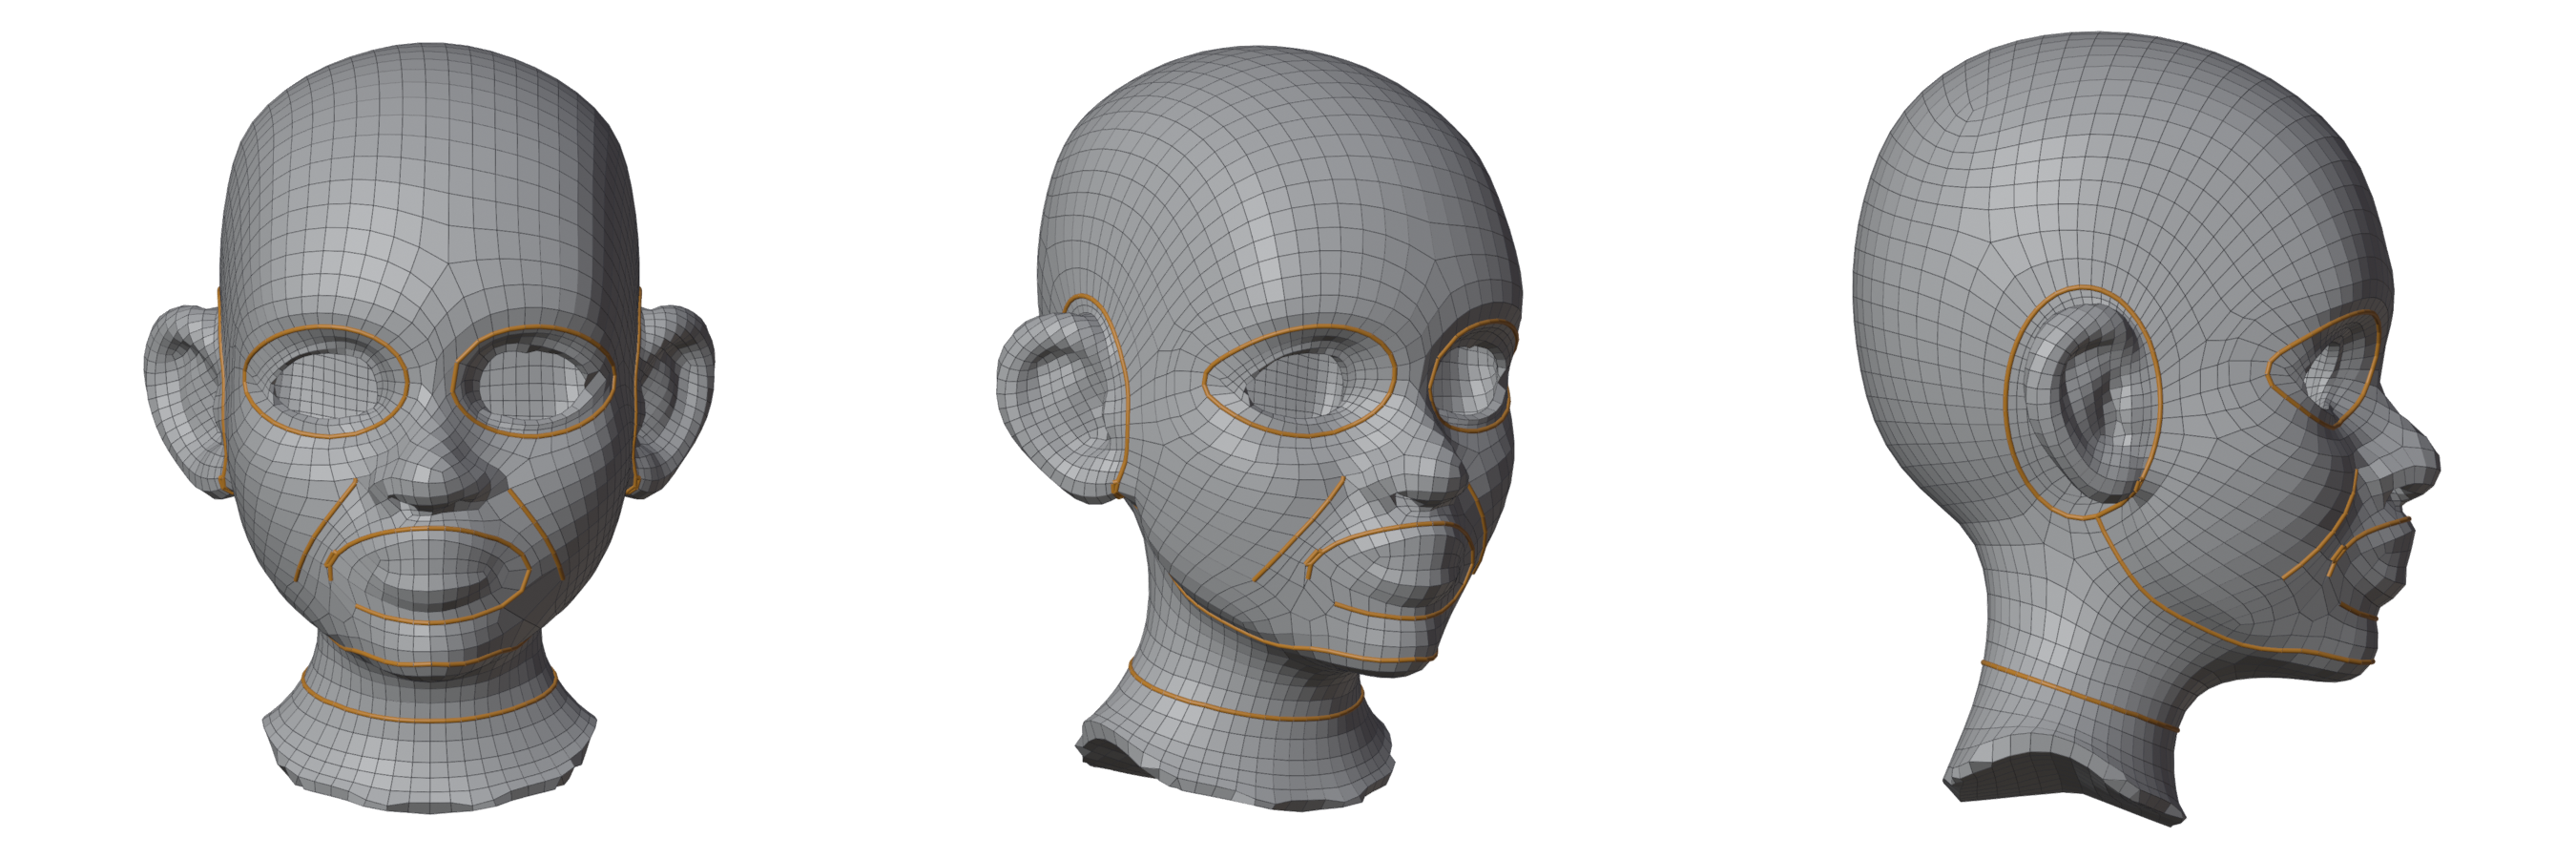
Nine guides drawn on a sculpt, one press of Remesh, 4212 quads, clean. The edges along the guides are drawn orange. Step by step: Your first guided remesh.
What it does
- One-click remesh. Pick a Style (Character, Sculpt / Scan, Hard Surface, or let Guess pick), set about how many Quads you want, press Remesh. A head at a few thousand quads takes seconds.
- Checked results. All quads, no holes, nothing turned inside out, the same openings as your mesh, about the count you asked for. When a spot is not right, the result card selects it for you.
- Guides. Draw lines and loops on the mesh: they become edge loops, and the regions between them are filled with quads. Drawn as a patch network, every region shows the patch it makes and a sketch of its rows while you draw, the panel fixes what keeps it from filling, and you set the edges along each line. Moved a guide afterwards? Update remeshes only the regions it borders.
- Density. Paint where quads should be smaller or larger.
- Retopo helpers. Edit Mode tools to remesh a selection, fill a hole, bridge two loops, or fill the rest of a partial retopo.
- CAD parts. Hard Surface follows every sharp edge; the Surfaces (CAD) panel finds the faces of the part and makes their borders edge loops, fillets included.
- One panel. Everything sits in the sidebar's QuadGuide tab: the panel, top to bottom.
In Blender
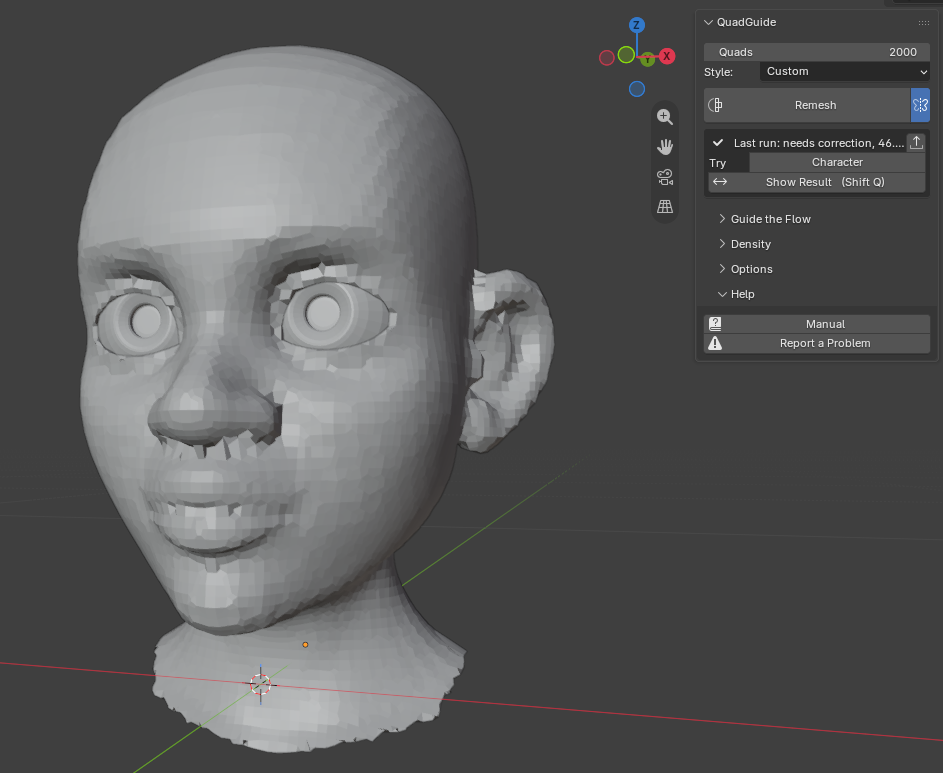
| The raw head | After a remesh with guides |
|---|---|
 |
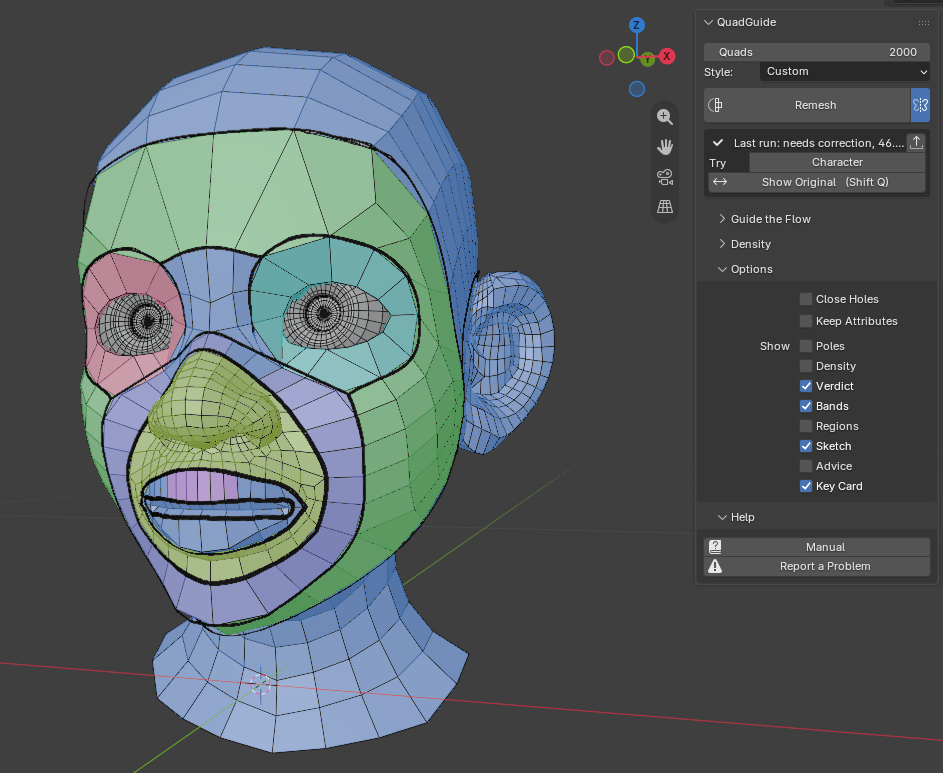 |
The panel sits in the viewport's sidebar. On the right, the overlay tints each patch the remesh fills between your guides; Show Original (Shift+Q) switches back to the sculpt.
One press of Remesh
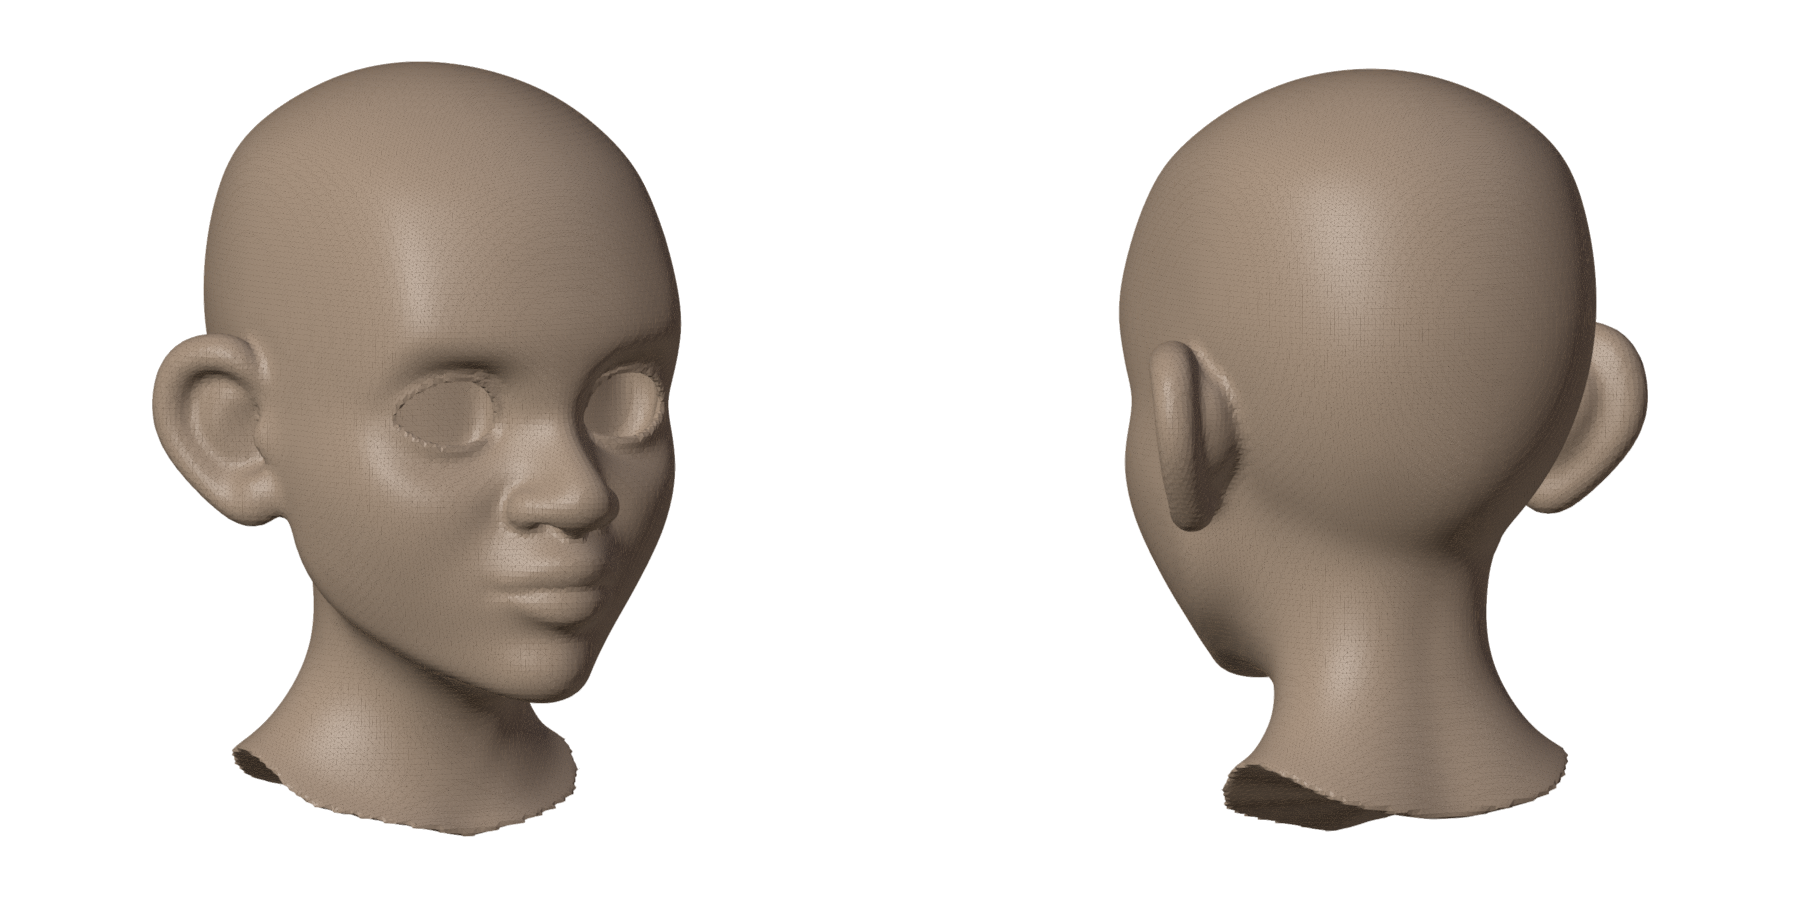
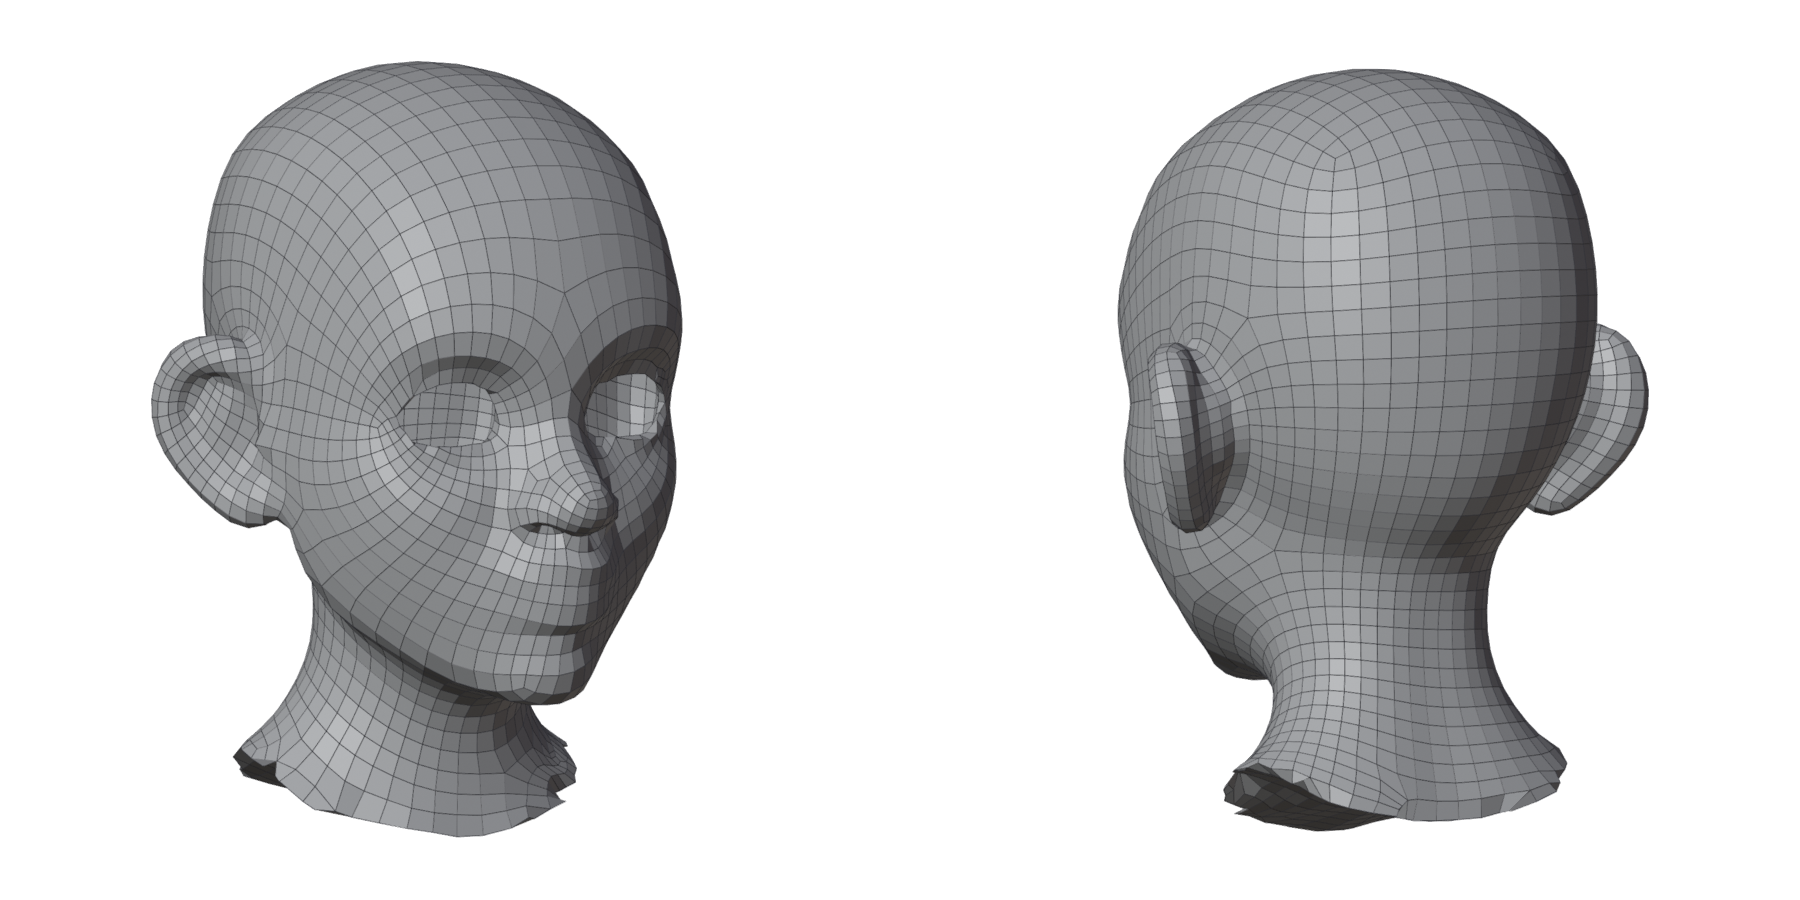
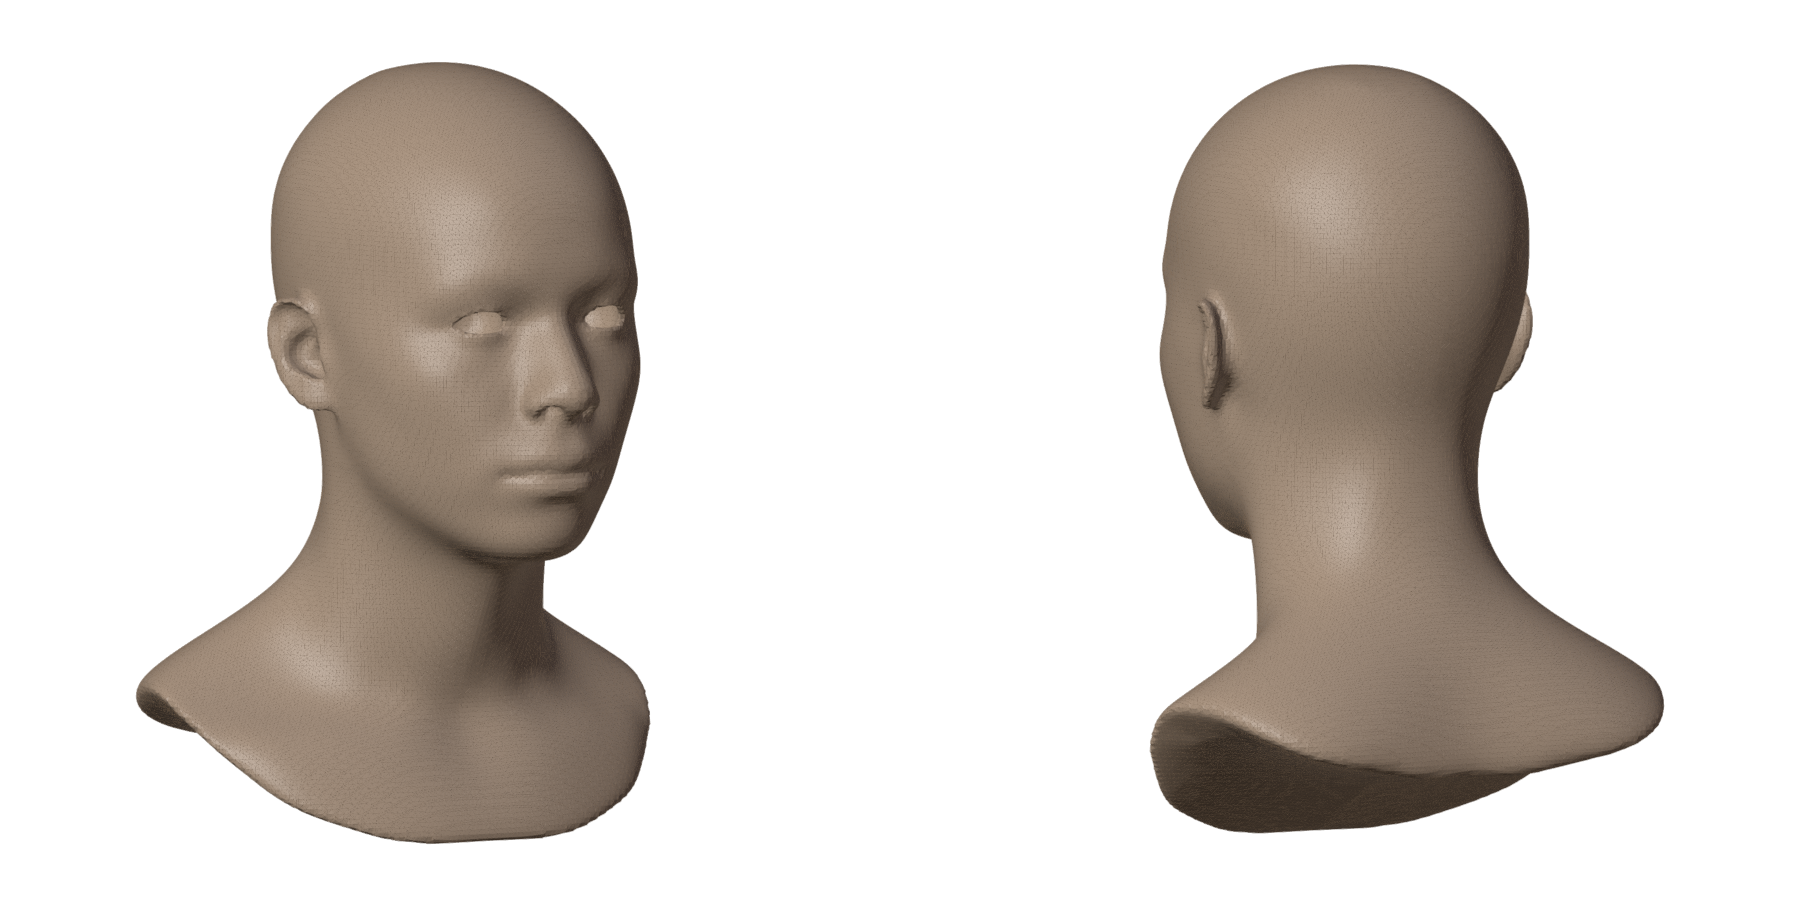
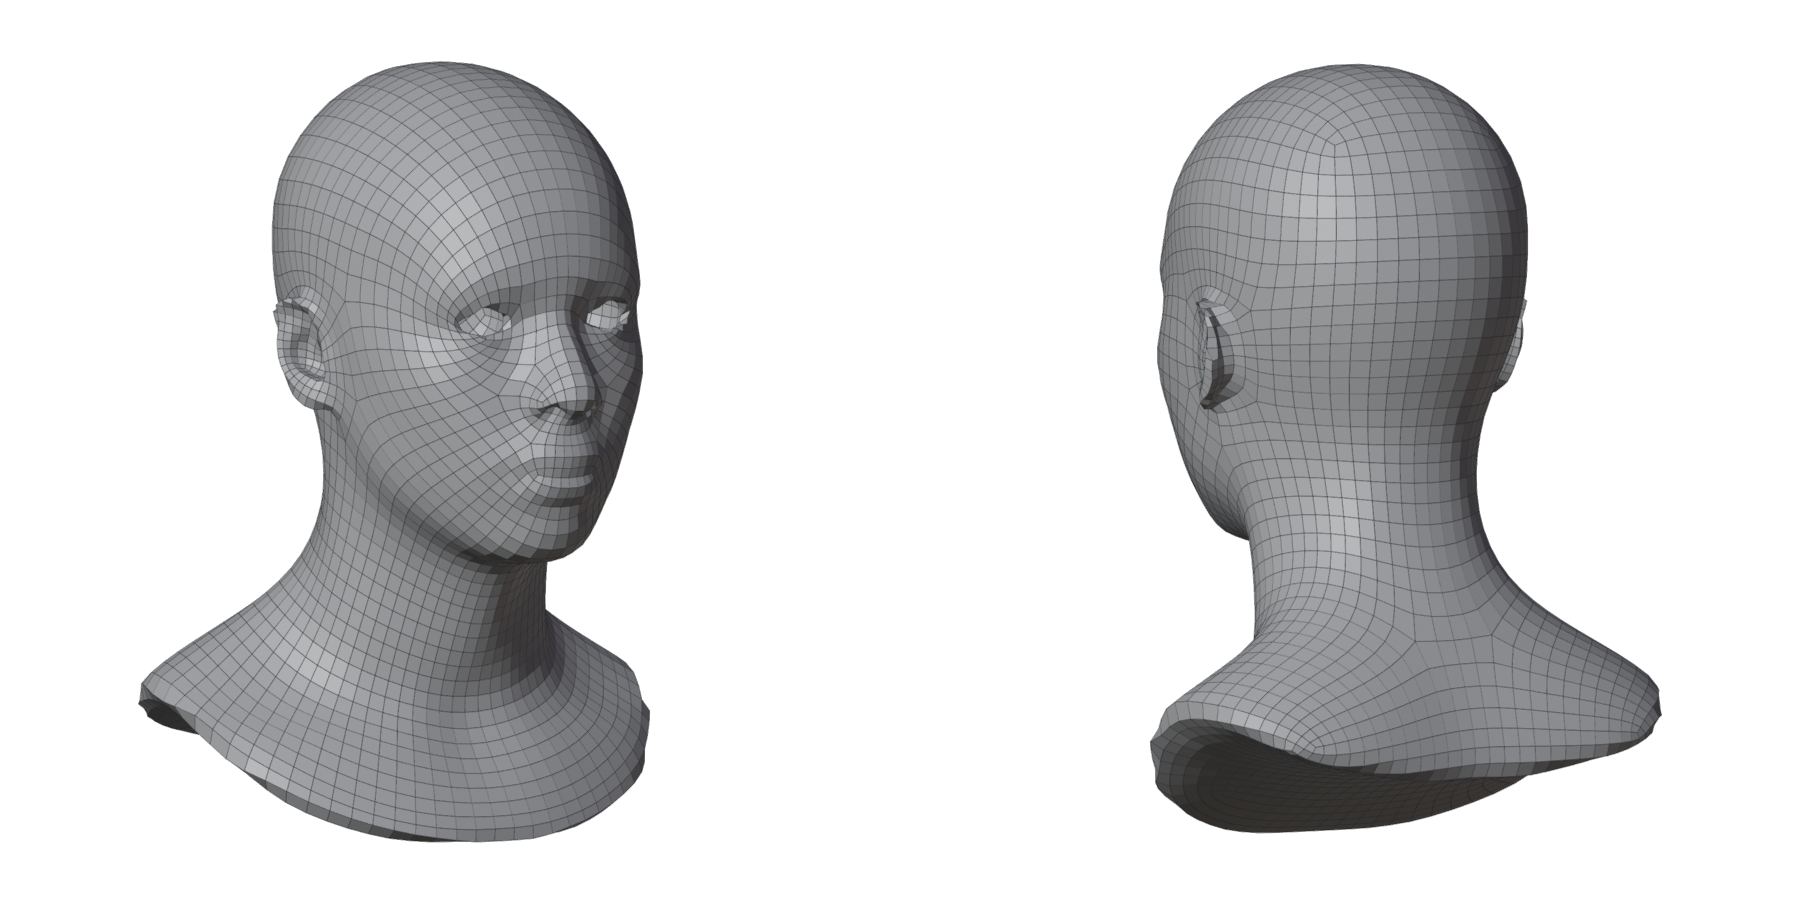
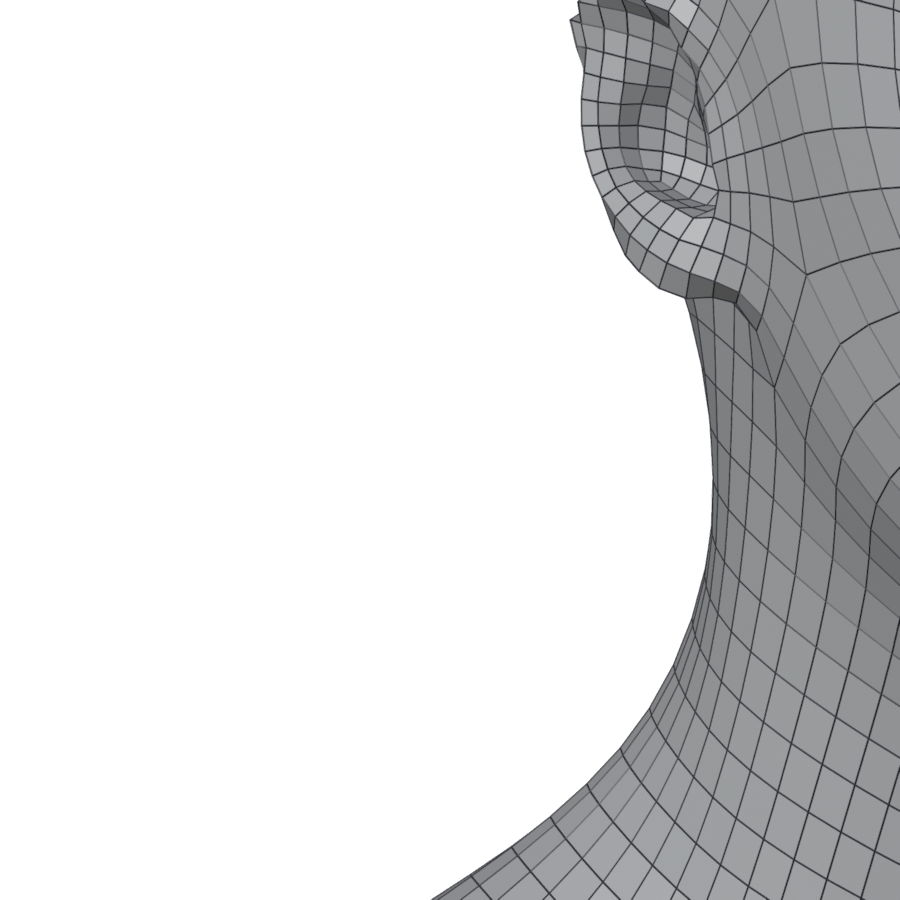
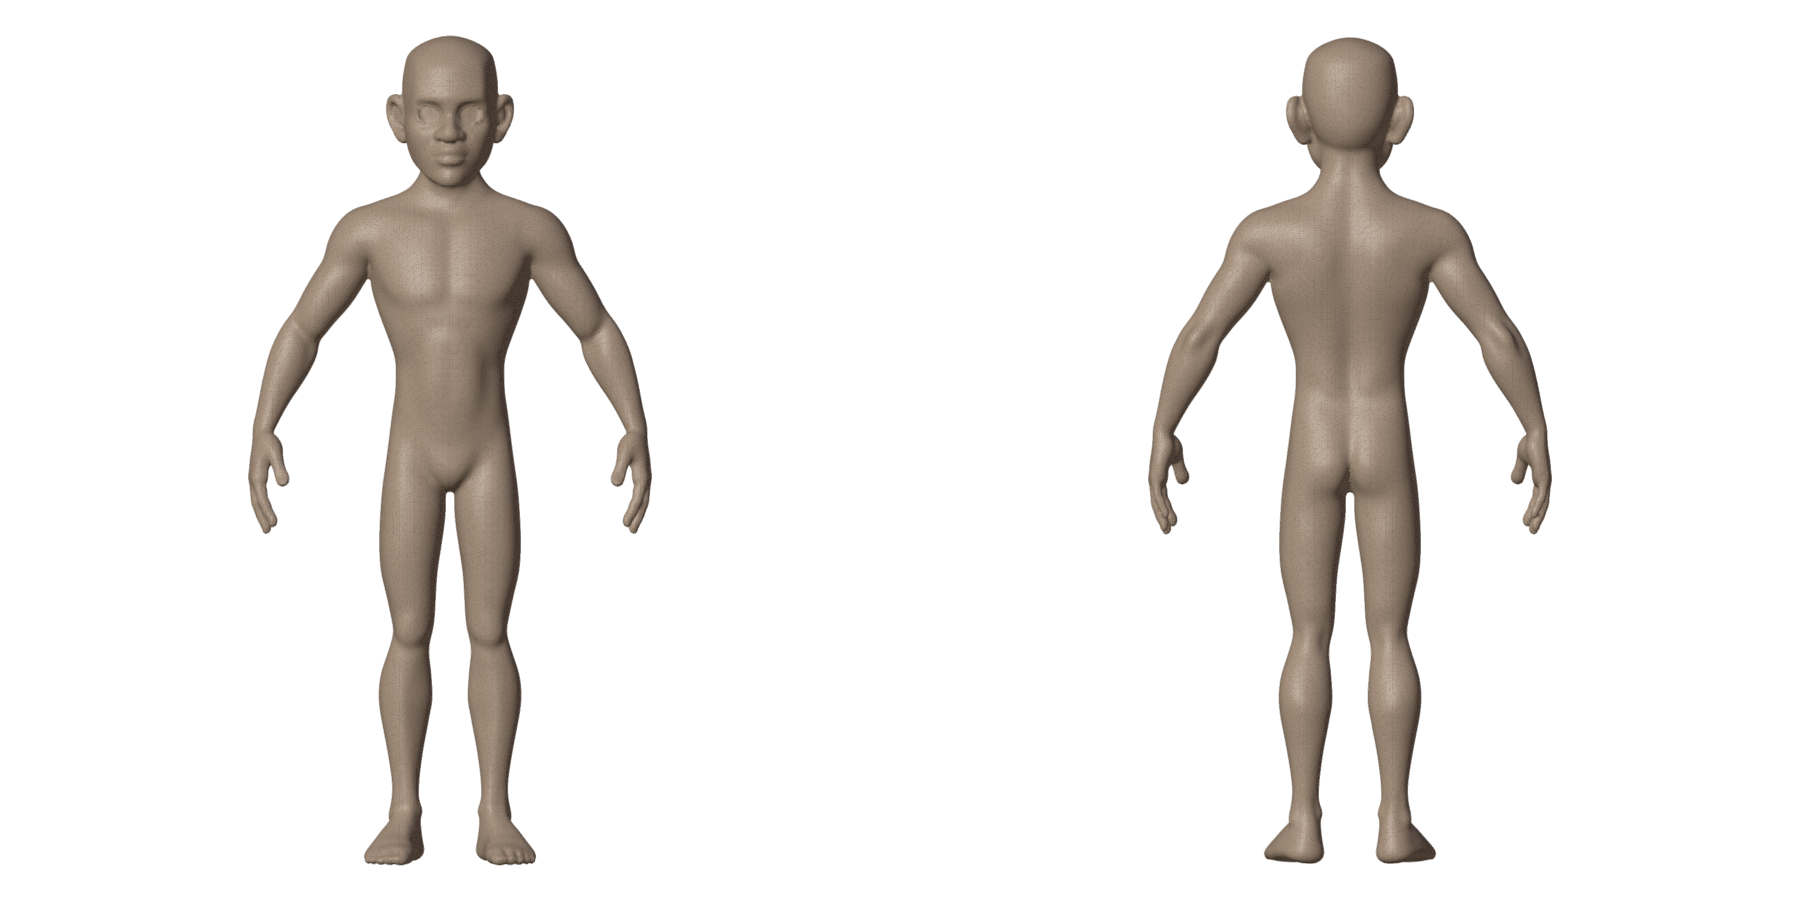
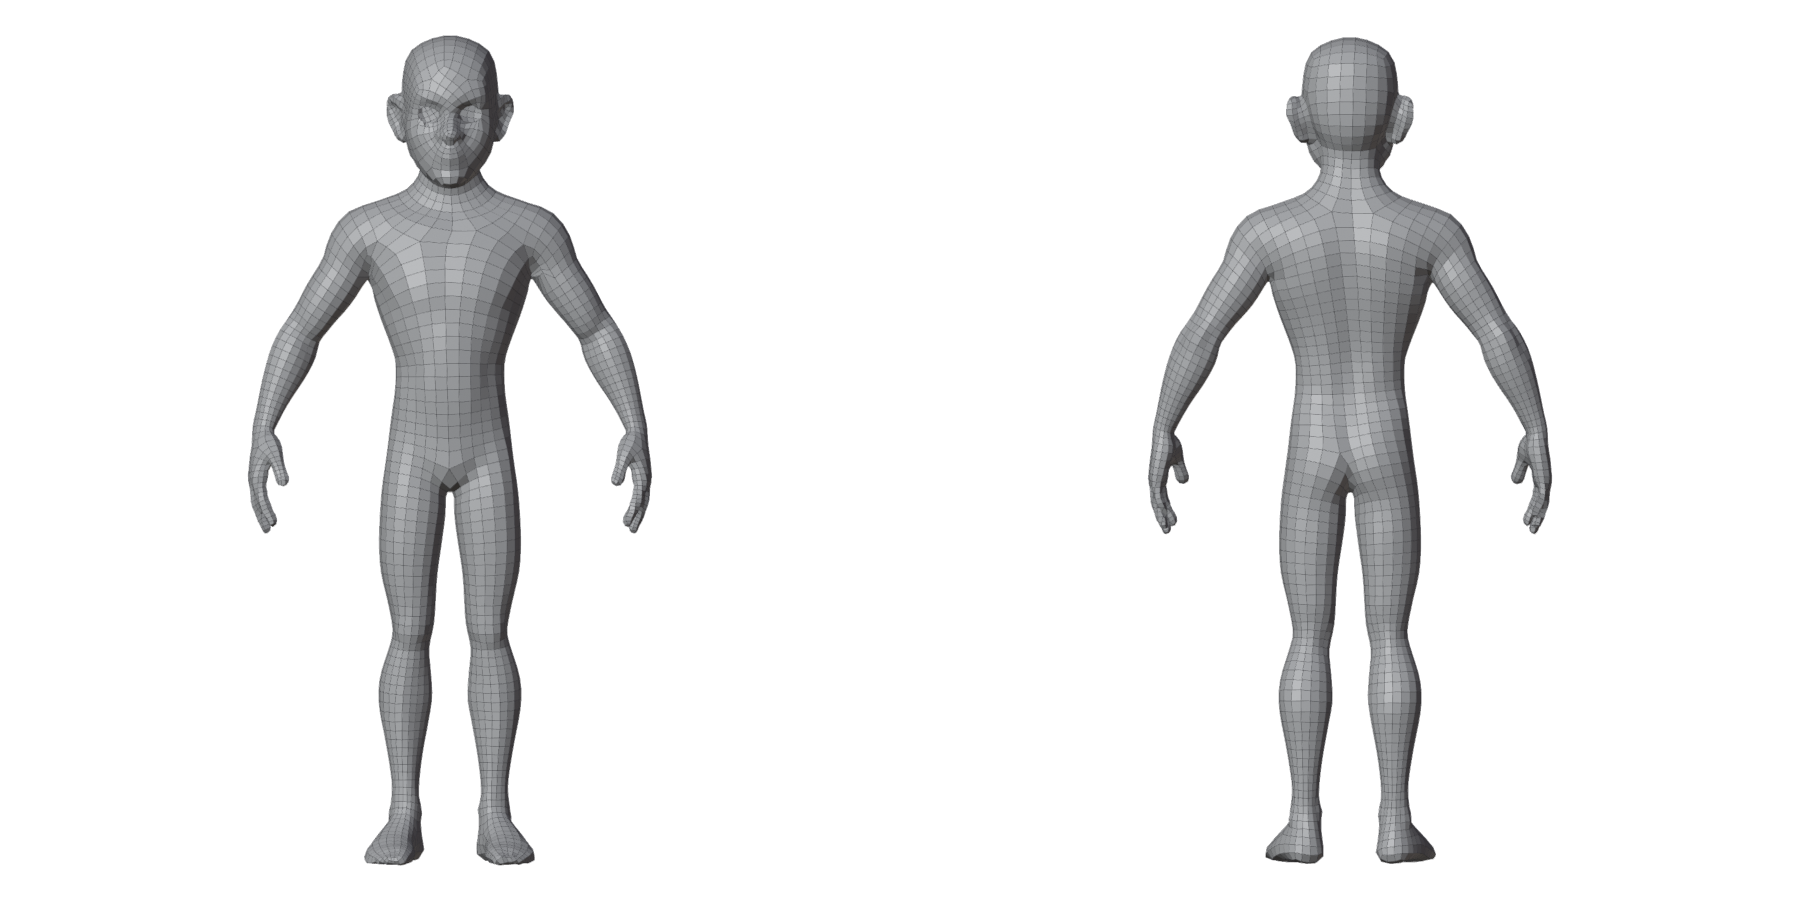
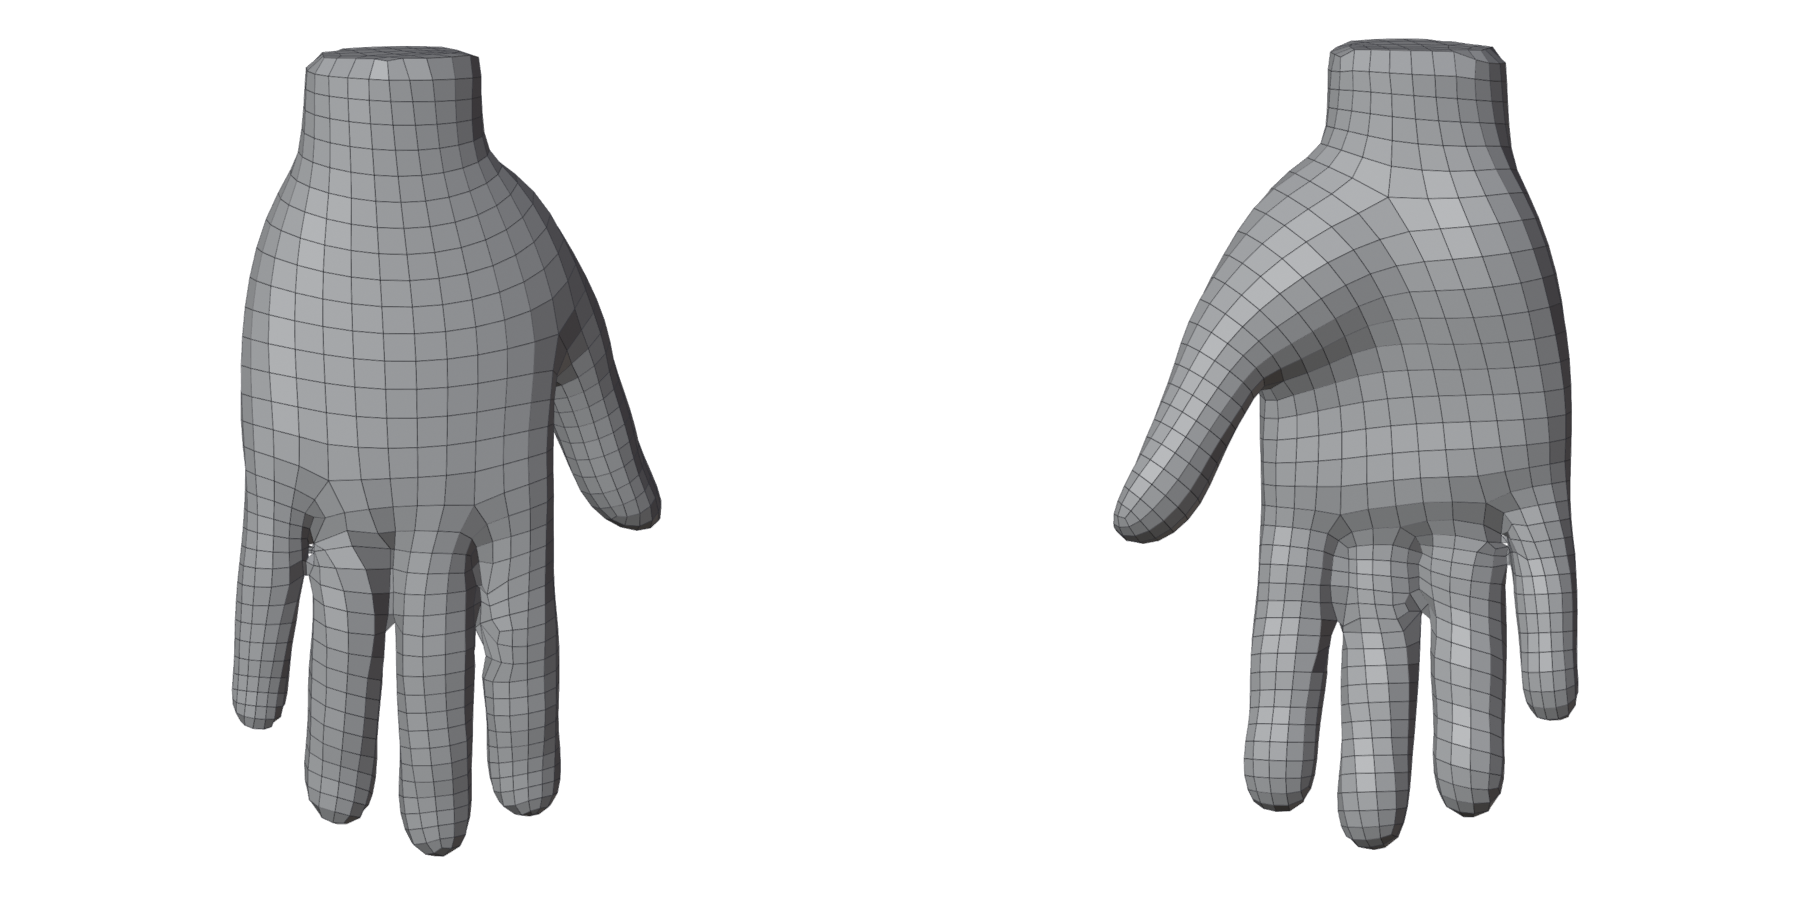
Each row: the original (clay), the result (grey), and the result up close. No guides, no settings beyond the style and the count.
| Before | After | Up close |
|---|---|---|
 |
 |
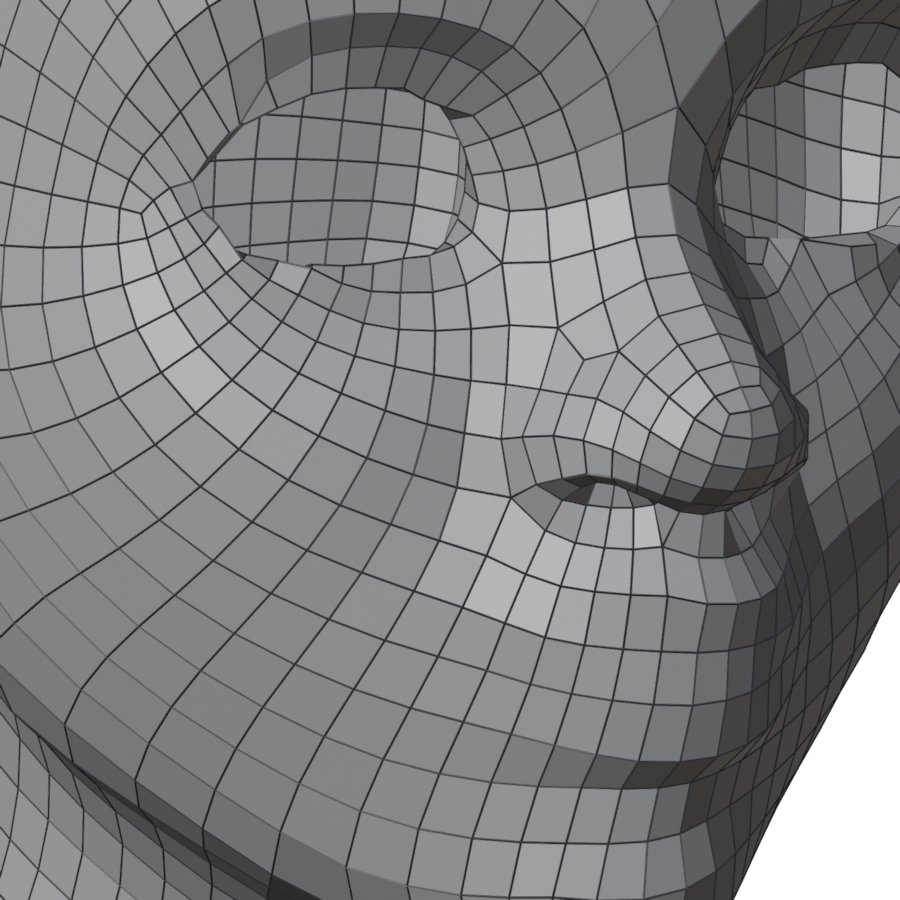 |
| Stylized head | Character, 3000 asked, 3068 quads | loops round the eye, the nose and the mouth; a few quads to touch up at the ear |
 |
 |
 |
| Realistic head | Sculpt / Scan, 4000 asked, 4006 quads | clean; the loops run round the ear and down the neck |
 |
 |
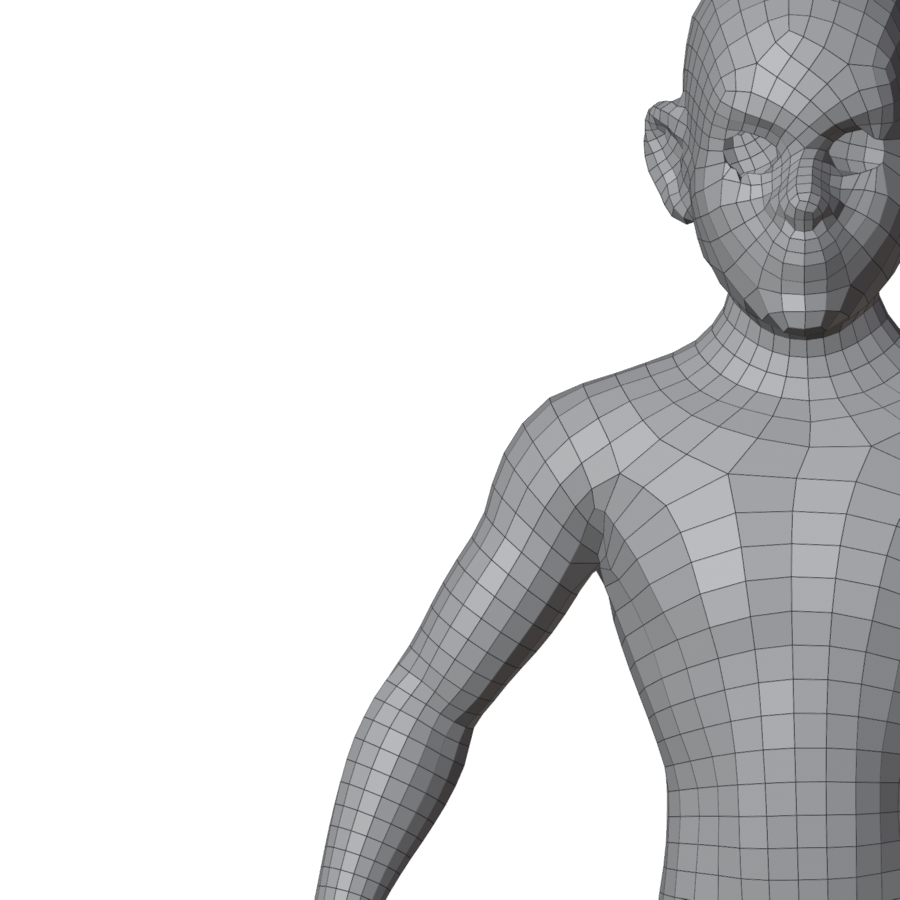 |
| Stylized body | Character, 5000 asked, 5229 quads | rows along the arm and across the chest; a few quads to touch up at the fingertips |
 |
 |
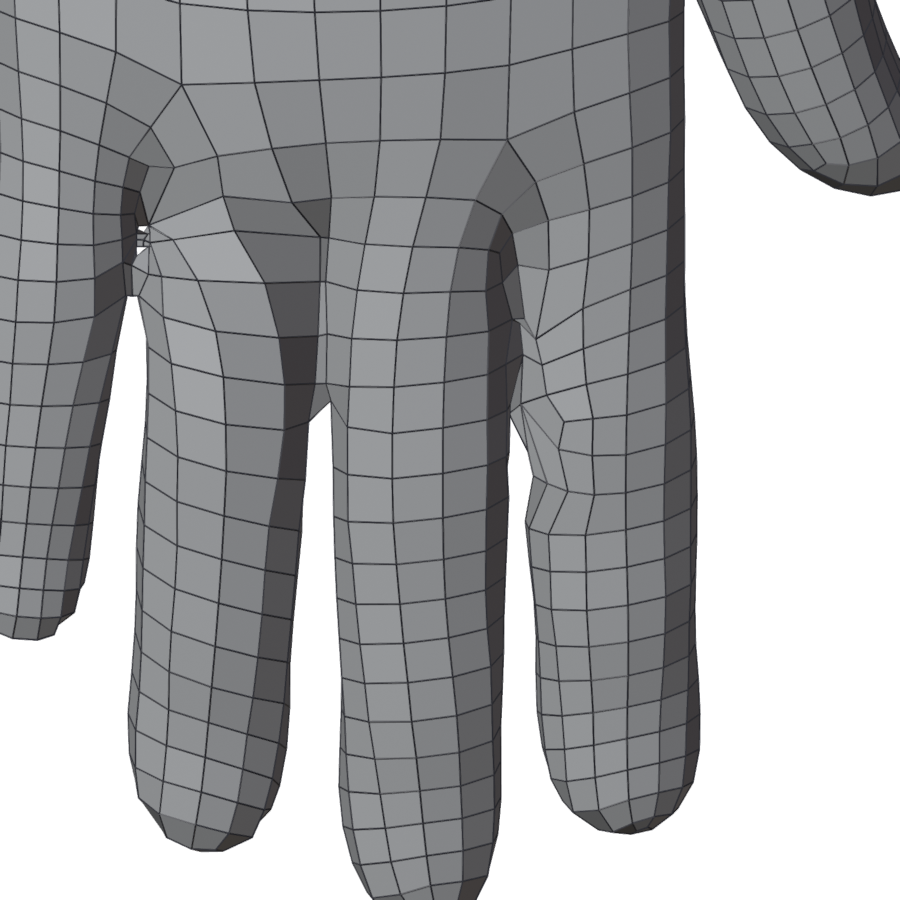 |
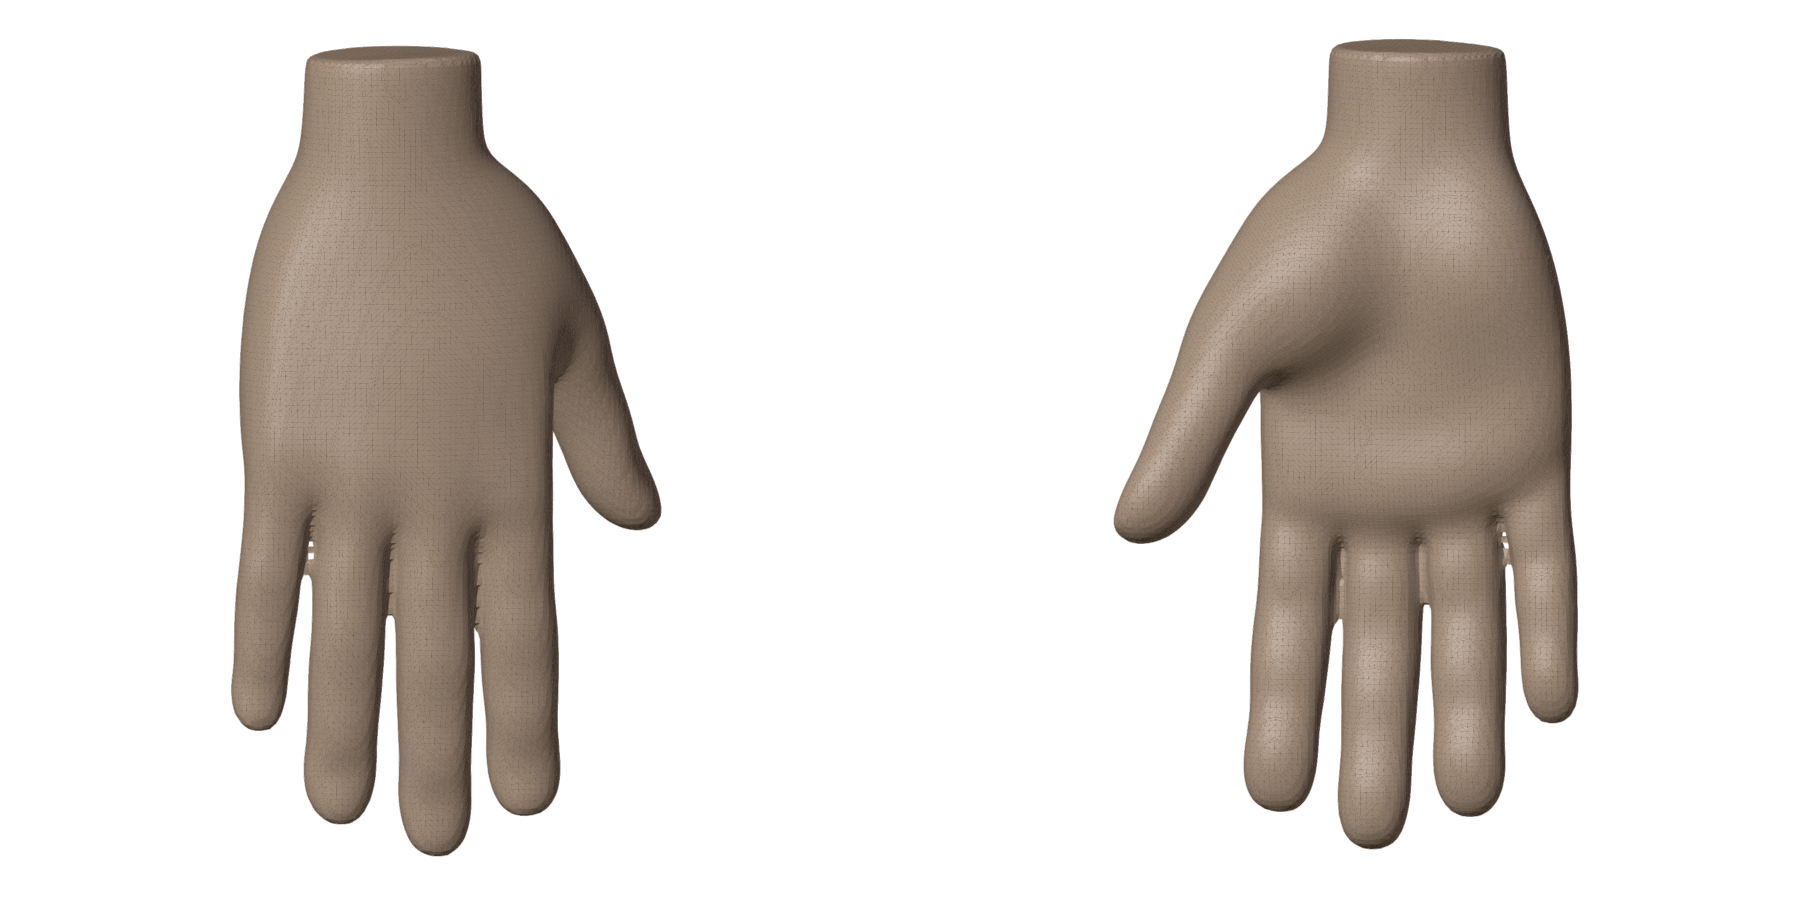
| Stylized hand | Character, 1500 asked, 1554 quads | rows run down each finger; a few quads to touch up at the webbing |
 |
 |
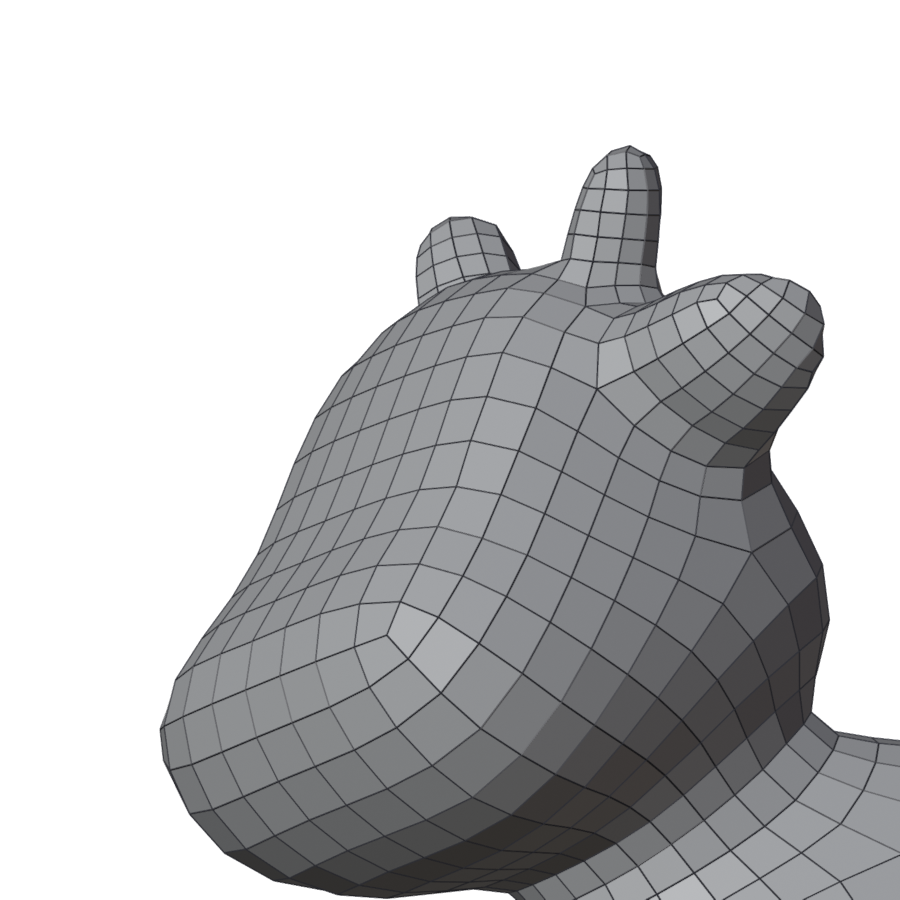 |
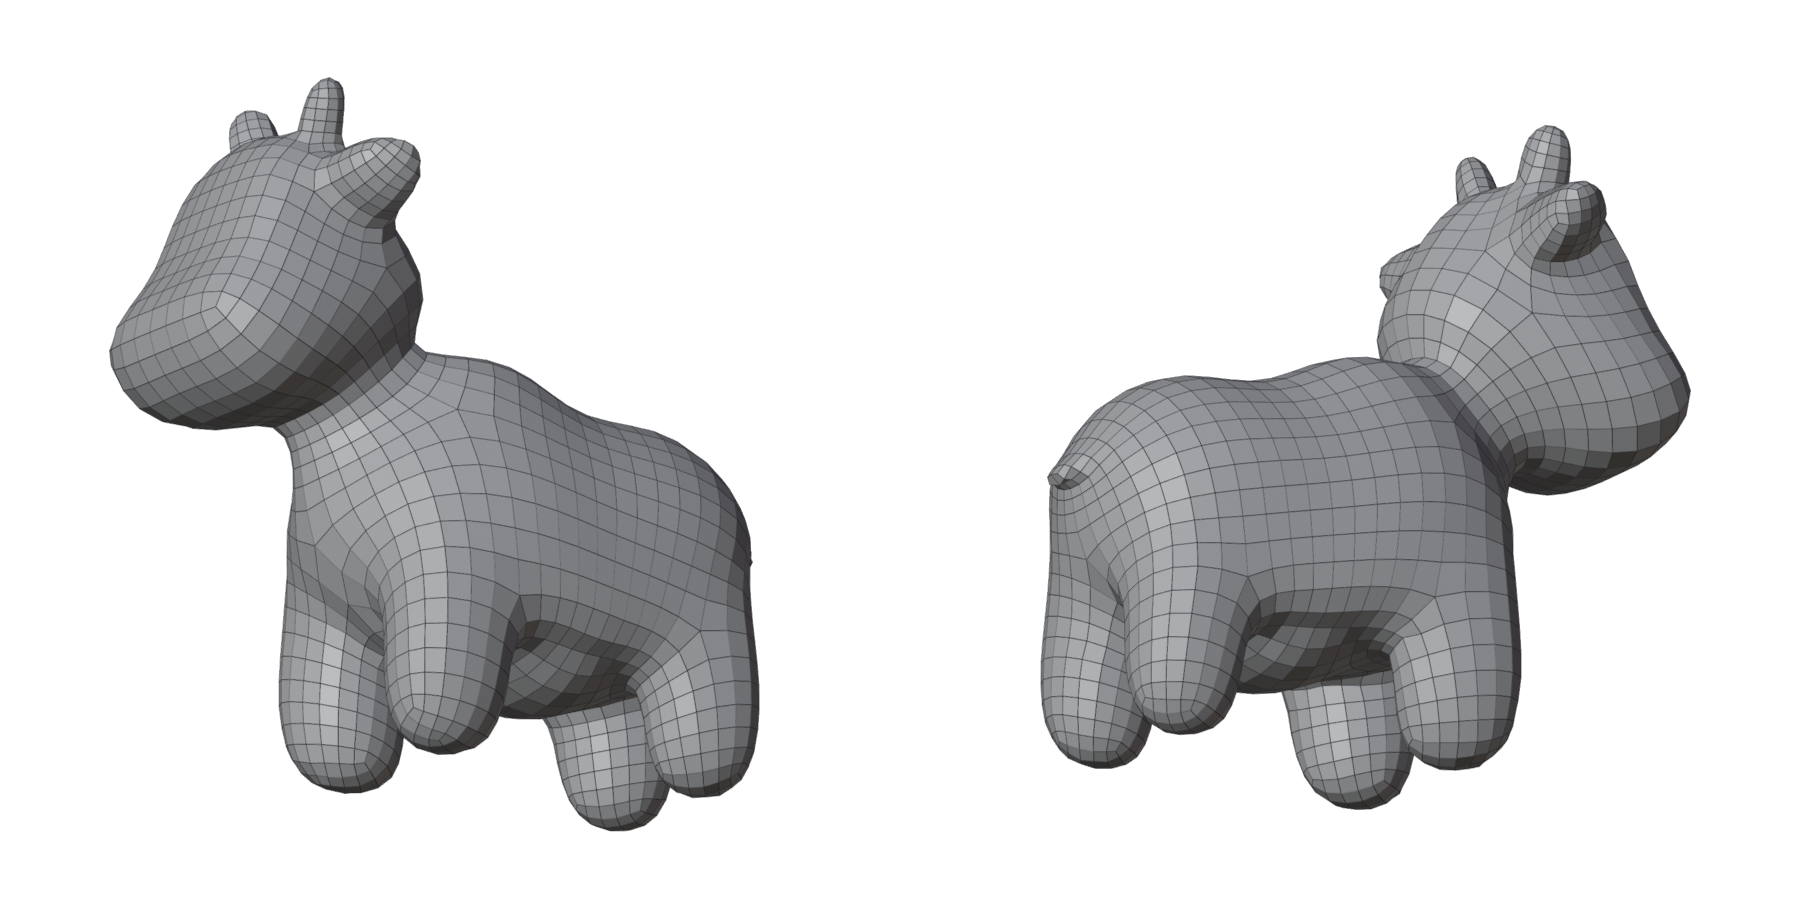
| Spot | Character, 2000 asked, 2018 quads | clean |
 |
 |
|
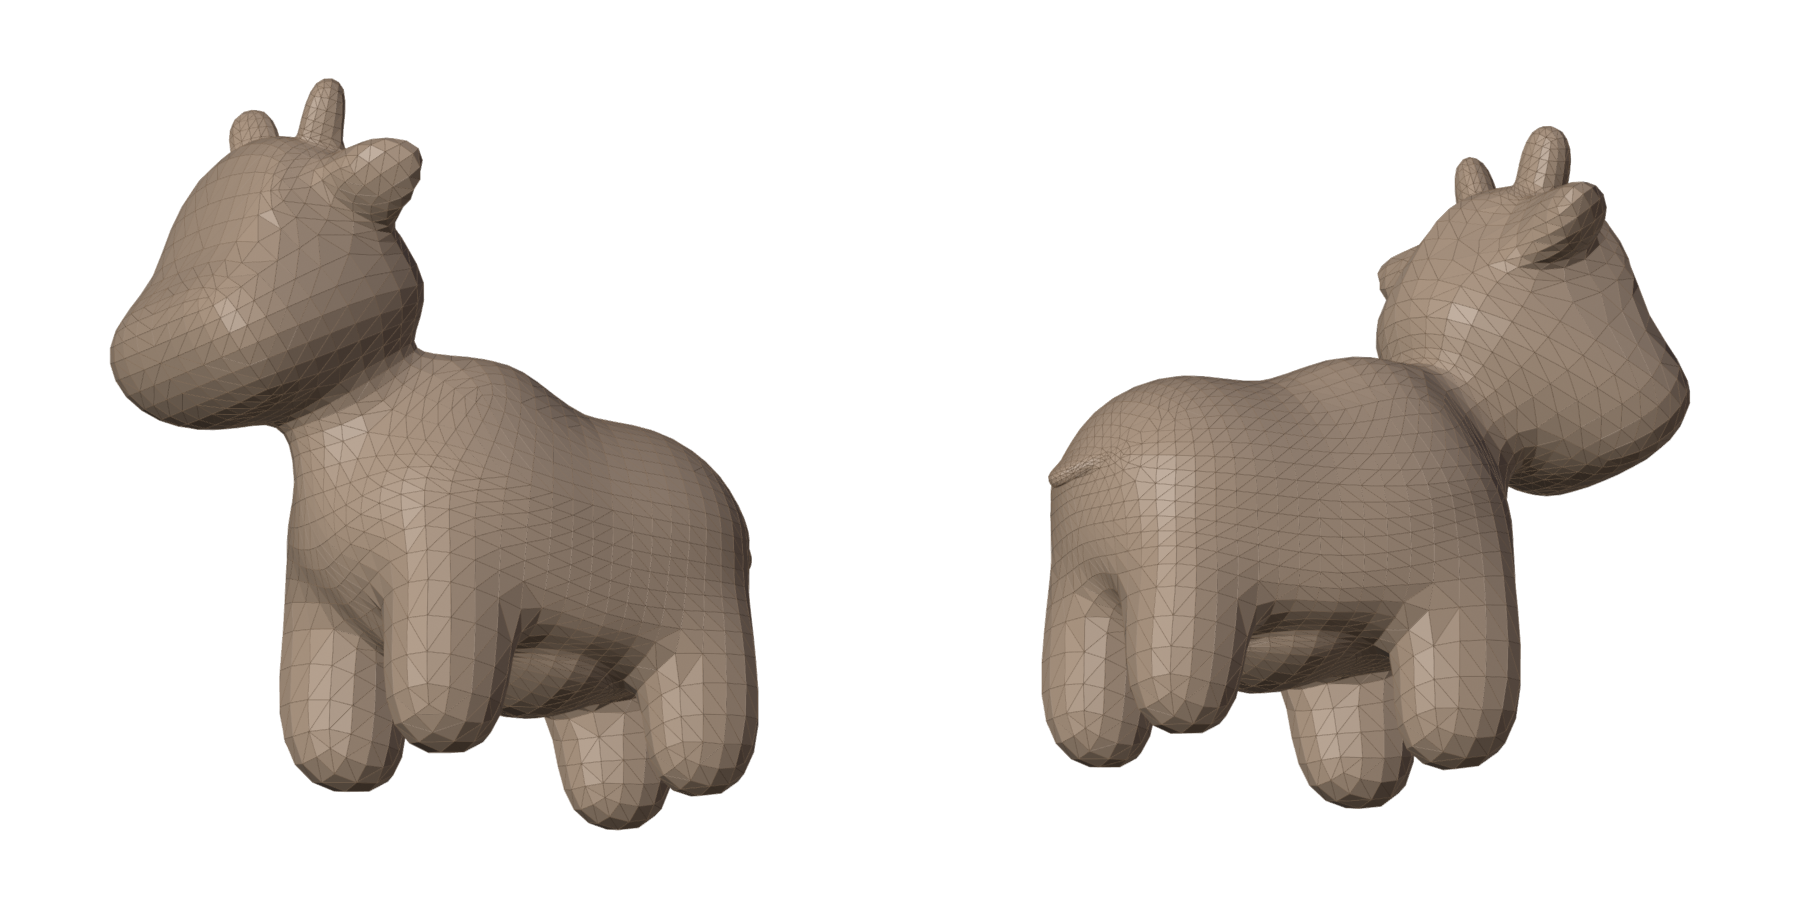
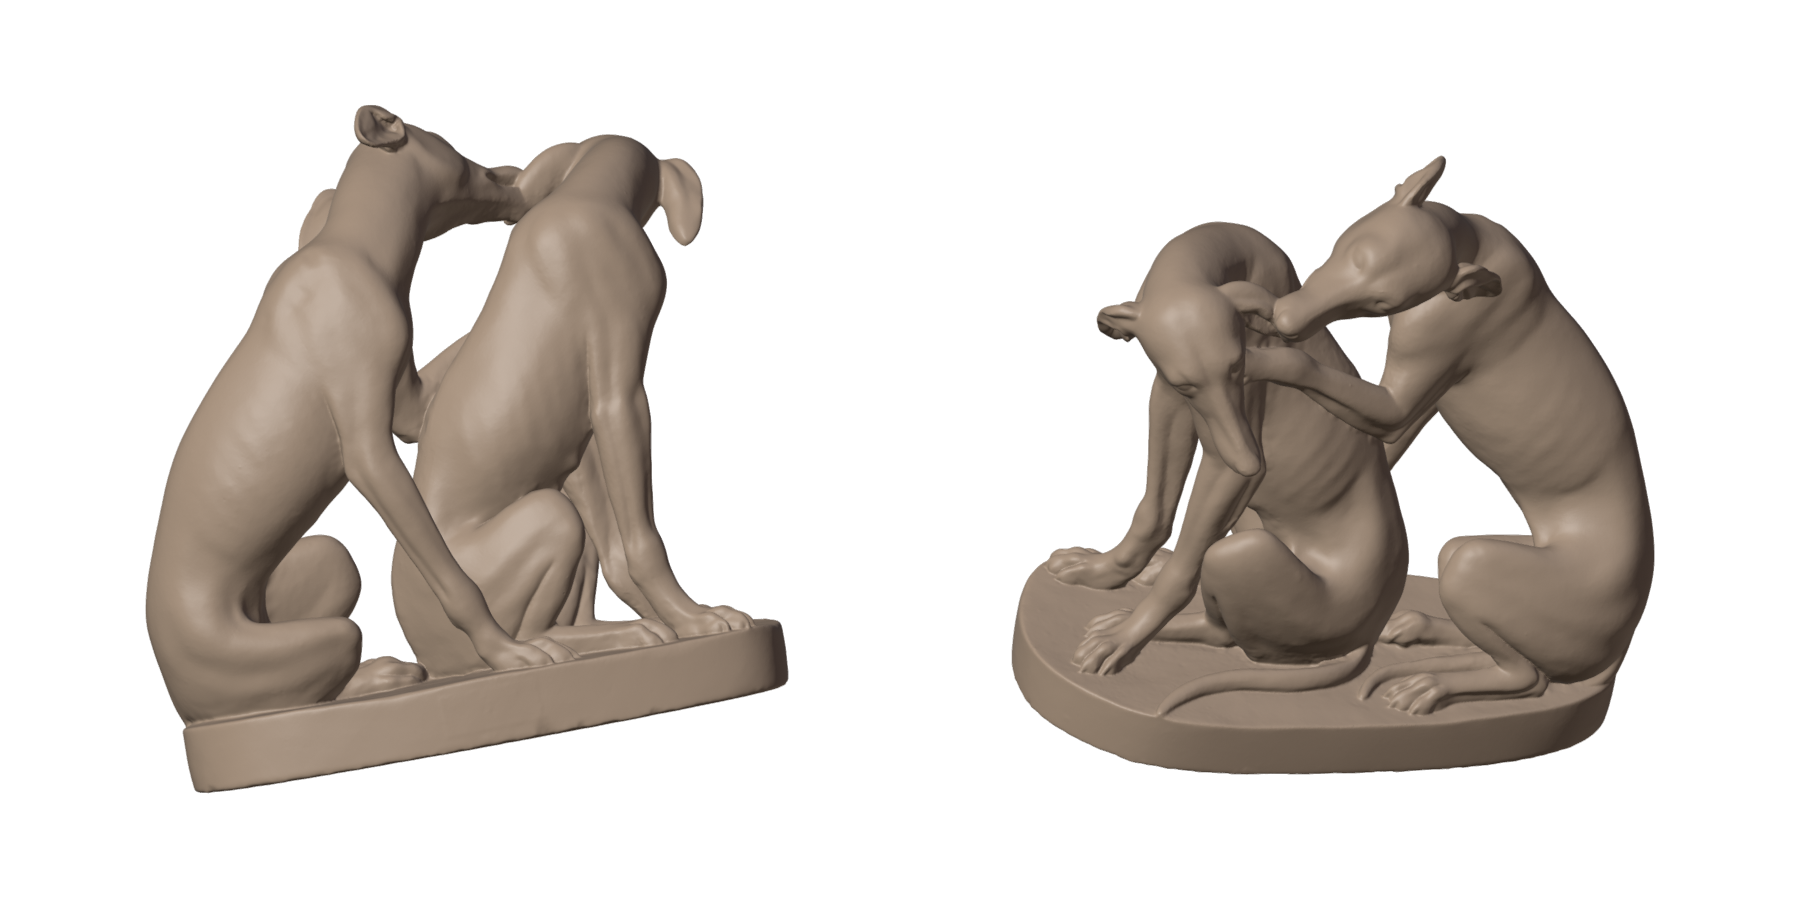
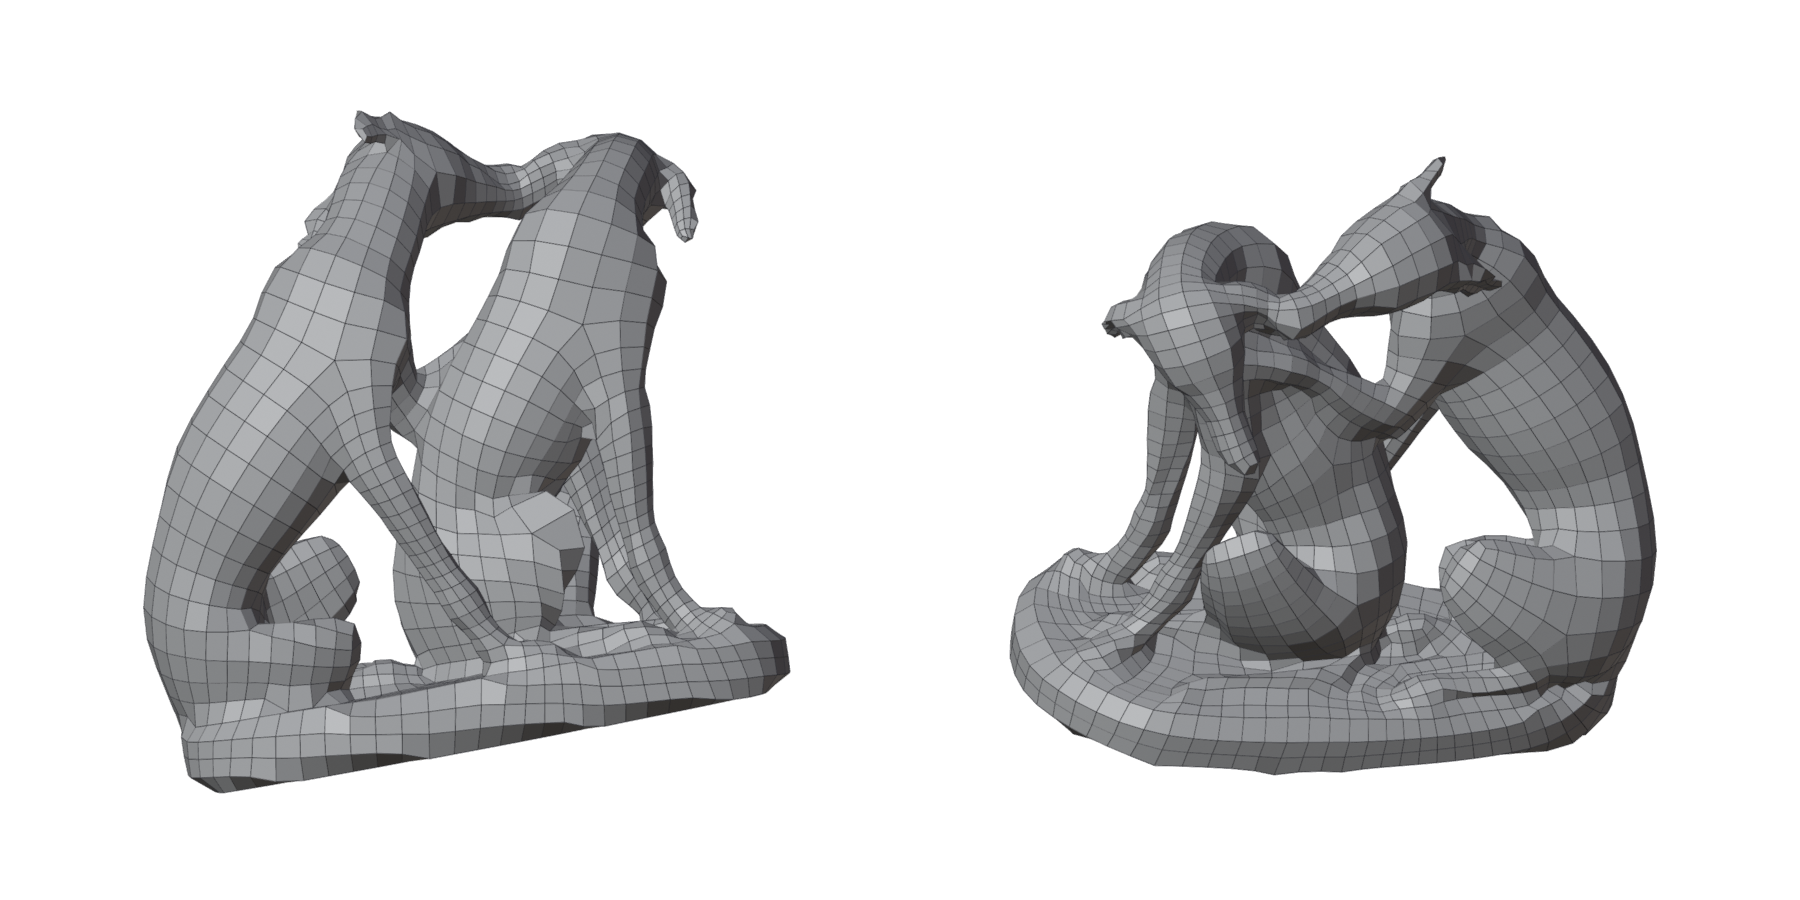
| Hundepaar, a scan of 1.6 million faces | Sculpt / Scan, 3000 asked, 3014 quads in 51 s | two dogs in 3000 quads: each head gets a few hundred, so this one stays at full view |
"A few quads to touch up": a handful of pinched quads at an ear rim or a fingertip, which the card selects for you to relax.
The models are Blender Studio's Human Base Meshes, Keenan Crane's Spot and the Tiroler Landesmuseum's Hundepaar, all CC0 (see Credits).
Technical parts
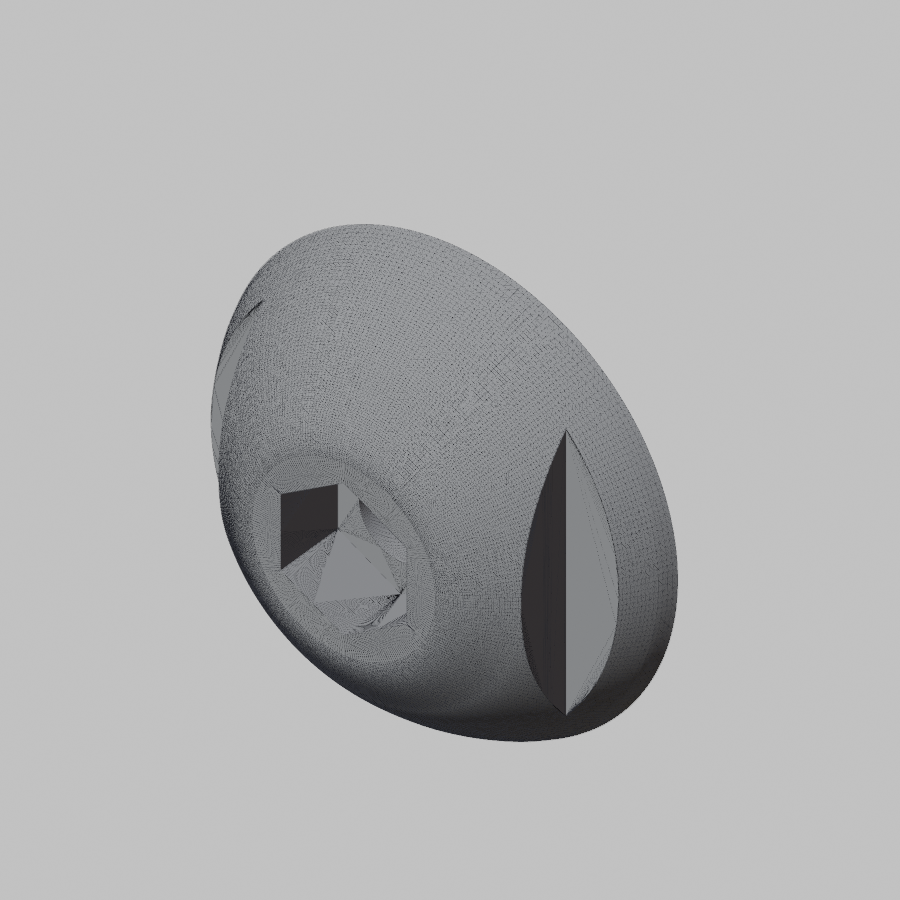
| A bag cap from CAD, 40 000 triangles | Hard Surface, 5000 quads |
|---|---|
 |
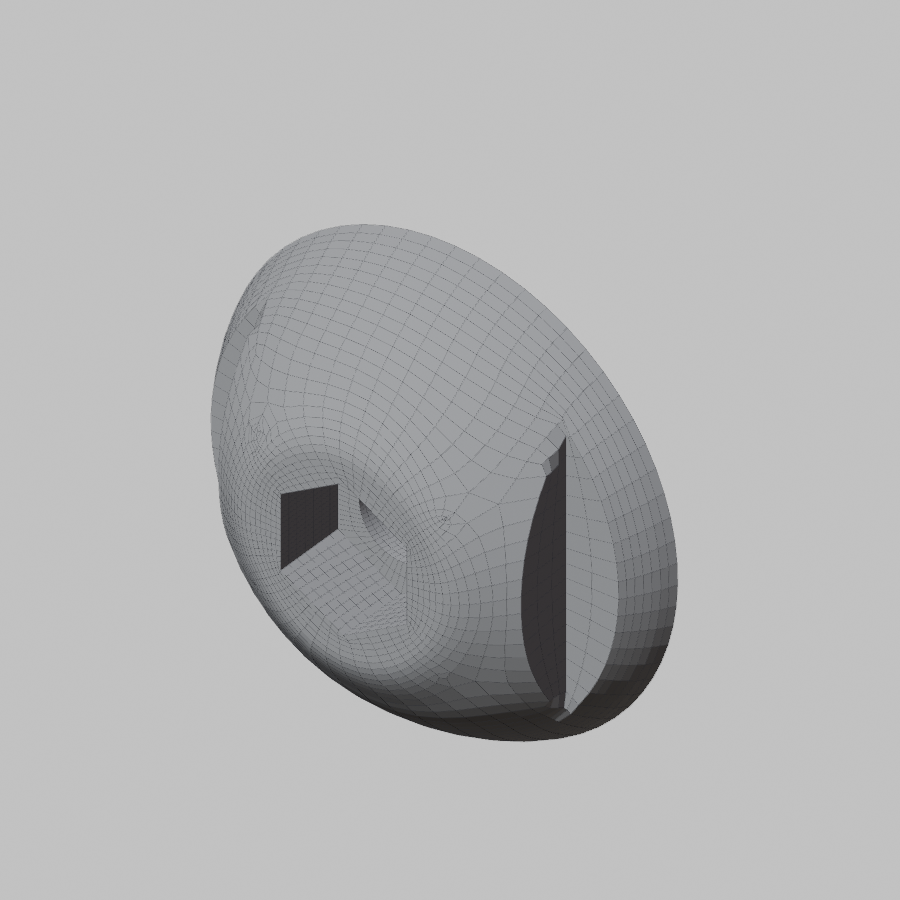 |
Every sharp edge is an edge loop; the flow stays even over the dome of the cap and turns round its pocket and slot. More parts, and the Surfaces (CAD) panel: Technical meshes.
Where to start
- Install the add-on.
- Your first remesh: one minute on the sample head.
- Your first guided remesh: loops round the eyes and mouth.
- The result: reading the verdict, fixing a spot, keeping or discarding.
Questions, results to show, ideas: the public thread on Blender Artists.